how to connect liquid cooling to motherboard?
I remember the first time I tried to connect a liquid cooler to a motherboard. I stared at all the tiny headers and felt lost because every cable looked the same.
To connect liquid cooling to a motherboard, I plug the pump cable into a pump-supporting header, connect radiator fans to CPU or fan headers, and set the correct control mode in BIOS so the pump and fans run safely.
I want to show each step in a slow and clear way, so you can avoid the confusion that made my first build much harder than it needed to be.
What ports support pump power delivery?
I remember holding the pump cable and asking myself which header was strong enough to power it. I almost plugged it into the wrong place because I did not know which ports were designed for pumps.
Pump power delivery comes from headers such as AIO_PUMP, PUMP_FAN, or sometimes CPU_OPT, which provide steady voltage or higher power to run the liquid cooler pump without sudden speed drops.
Pump headers look almost the same as fan headers, but they behave differently. They give stable power because pumps should not change speed often.
Main motherboard headers for pump power
| Header Name | What It Does | Why It Works for Pump |
|---|---|---|
| AIO_PUMP | Gives stable 12V power | Pumps need steady speed |
| PUMP_FAN | Same as AIO_PUMP on some boards | Designed for liquid coolers |
| CPU_OPT | Works when no pump header is available | Can mirror CPU_FAN speed |
| SYS_FAN | Not ideal | Changes speed too often |
Why pump headers matter
1. Pumps need stable voltage
A pump should run at full speed or near full speed all the time. If voltage drops, flow weakens and heat rises.
2. Wrong header may slow the pump
If I plug the pump into a normal fan header, the motherboard may lower power when the system is cool. This can create air pockets and noise.
3. Correct header avoids BIOS errors
Many motherboards look for a strong steady RPM signal. Pump headers give this signal.
How I choose the right header
I check:
- The motherboard manual
- Printed text near the header
- BIOS settings under cooling control
Even today, I double-check the manual. It saves me from wiring mistakes.
A short story
A friend once asked me to fix his overheating system. I found the pump plugged into SYS_FAN. The board kept slowing the pump because it thought the case was cool. After moving the pump cable to AIO_PUMP, the system cooled down instantly.
Why match headers to correct RPM control?
When I installed my second liquid cooler, I plugged everything correctly but still saw unstable temperatures. The real problem was wrong RPM control settings.
Matching headers to the right RPM control ensures the pump runs at full speed and the radiator fans follow CPU temperature, keeping the loop stable and preventing airflow or pressure issues.
Fans and pumps follow different rules. RPM control tells the motherboard how to change speed.
Why RPM control must match the device
1. Pumps need “DC full speed” or “PWM full speed”
If the pump slows down, heat load rises fast. Liquid coolers rely on strong flow.
2. Fans must react to CPU temperature
Radiator fans cool the CPU block. If fans do not match CPU load, the cooler becomes weak under heavy use.
3. Wrong RPM control causes strange noise
When a pump tries to follow slow fan curves, it pulses. This creates vibration and low flow.
BIOS settings that affect cooling
Most boards offer:
- DC mode
- PWM mode
- Full speed
- Silent mode
- Standard curve
- Custom curve
I keep the pump on full speed. Fans get a simple curve linked to CPU temperature.
Table: RPM control for pump vs fans
| Device | Best Control Mode | Why |
|---|---|---|
| Pump | Full speed | Keeps flow steady |
| Radiator fans | PWM curve | Responds to CPU load |
| Case fans | Curve based on system temp | Balances noise and airflow |
My helpful habit
After building a PC, I let it idle for five minutes. Then I stress-test the CPU while watching RPM. If the pump RPM does not stay high, I adjust the settings. This routine saved me from slow-flow issues many times.
Personal moment
I once mis-set the pump to “Silent” mode. The system overheated during a game. I learned that pumps are never meant for silence profiles. They must run strong to keep water moving.
Where are CPU_FAN and AIO_PUMP headers located?
Every time I look at a new motherboard, I check port locations before installing anything. It saves me from running cables across the whole board later.
CPU_FAN and AIO_PUMP headers sit near the CPU socket, usually along the top edge or right side of the motherboard, so the pump and radiator fans can connect with short, clean cables.
Even though boards look different, most follow similar placement.
Typical CPU cooler header locations
1. Top-right corner
This is the most common place. It sits above the CPU socket.
2. Top-left area
Some boards put the CPU_FAN here, near the VRM heatsinks.
3. Right side near RAM slots
I often see AIO_PUMP here.
4. Lower right edge
A few compact boards move AIO headers lower to save space.
How I spot the headers
Motherboards print labels next to each header. Look for:
- CPU_FAN
- CPU_OPT
- AIO_PUMP
- PUMP_FAN
CPU_FAN is mandatory for BIOS boot. AIO_PUMP is optional but ideal.
Example layout map
| Header | Common Placement | What Connects There |
|---|---|---|
| CPU_FAN | Above CPU socket | Radiator fan or fan splitter |
| CPU_OPT | Near CPU_FAN | Second fan in push-pull |
| AIO_PUMP | Right of RAM slots | Pump power cable |
| SYS_FAN | Lower board areas | Case fans |
Case size affects cable path
In small ITX cases, headers often sit close to the socket. In large ATX cases, they sit farther away, so I plan cable routing early to avoid messy layouts.
Personal tip
I always run the pump cable first, before installing the radiator. This keeps the cable clean and makes sure I do not forget the pump connection, which happened to me once during a late-night build.
Can miswiring damage the pump?
I still remember the fear I felt when I asked myself if a wrong connection could burn the pump. I even double-checked the cables three times before powering the system.
Miswiring can damage the pump if it receives unstable power, gets plugged into a header with wrong voltage, or runs dry due to low speed, which increases heat and mechanical stress.
Most pumps survive simple mistakes, but a few errors can cause real harm.
How wiring mistakes cause damage
1. Pump on low-power header
Some headers deliver less power. The pump may run weak and overheat internally.
2. Pump on fan curve
If the pump stops at low speed, water flow drops and heat builds fast.
3. Pump left unplugged
This can cause instant overheating or thermal shutdown when the CPU is stressed.
4. Pump connected to RGB header
This is a dangerous mistake. RGB headers send lighting signals, not power. This can kill the pump instantly.
Table: Wiring errors and risks
| Mistake | Risk | Result |
|---|---|---|
| Plugging pump into SYS_FAN | Low voltage | Weak flow and heat rise |
| Plugging pump into RGB header | Wrong signal | Possible pump burn-out |
| Forgetting pump cable | No flow | Instant thermal shutdown |
| Mixing fan and pump cables | Curve mismatch | Noise and overheating |
Signs of miswiring
- Pump noise
- High CPU temperature at idle
- No RPM reading
- Sudden thermal throttling
- Fan speed changes but pump stays silent
My personal experience
One night I wired a pump into a fan splitter by mistake. The splitter pulled voltage down, and the pump clicked loudly. I shut the PC down fast. After rewiring, the sound disappeared. This taught me to check every cable before closing the case.
How I finish each installation
I follow a simple checklist:
- Pump cable on AIO_PUMP
- Fans on CPU_FAN or CPU_OPT
- BIOS pump mode set to full speed
- CPU temp stable at idle
- Noise level normal
This routine gave me smooth builds every time.
Conclusion
Connecting liquid cooling to a motherboard becomes simple when I know which port powers the pump, how RPM control works, where each header sits, and how to avoid miswiring. These small steps keep the loop quiet, strong, and safe for long use.
TAGS
Latest Articles

Volume discount levels for heat sink orders?
Buyers often ask when heat sink prices start to drop with volume. Many worry they’re overpaying for small orders. This guide explains how B2B volume pricing works for thermal components. Heat sink
21 Dec,2025
Heat sink long-term supply contract options?
Many buyers want stable pricing and reliable delivery for heat sinks. But without a clear contract, risks grow over time. This article explores how to secure better long-term supply deals. Long-term
21 Dec,2025
Tooling cost for new heat sink profiles?
Many engineers struggle to understand why tooling for custom heat sinks costs so much. They worry about budgeting and production timelines. This article breaks down the cost drivers behind tooling.
21 Dec,2025
Heat sink custom sample process steps?
Sometimes, starting a custom heat sink project feels overwhelming—too many steps, too many unknowns, and too many risks. You want a sample, but not endless delays. The process for requesting and
20 Dec,2025
Standard B2B terms for heat sink payments?
When buyers and sellers in B2B heat sink markets talk about payment, many don’t fully understand what’s standard. This can lead to delayed orders, miscommunication, and even lost business
20 Dec,2025
Heat sink pricing factors for large orders?
Heat sinks are vital for many systems. When prices rise, projects stall and budgets break. This problem can hit teams hard without warning. Large order heat sink pricing depends on many factors. You
20 Dec,2025Related Articles
- how to install a aio liquid cooler?
- how liquid cooling works in bike?
- heat sink manufacturer in Venezuela
- heat sink manufacturer in Vatican City
- heat sink manufacturer in Uzbekistan
- heat sink manufacturer in Uganda
- do graphics card have options for liquid cooling?
- How to change cooling liquid car?
- What's better liquid cooled or air cooled?
- How to instal liquid cooling?
- What's better liquid cooling or fan?
- Is liquid cooling worth it PC?
Author
Dr. Emily Chen
Chief AI Researcher
Leading expert in thermal dynamics and AI optimization with over 15 years of experience in data center efficiency research.
Categories
Latest Products


Recommend Categories
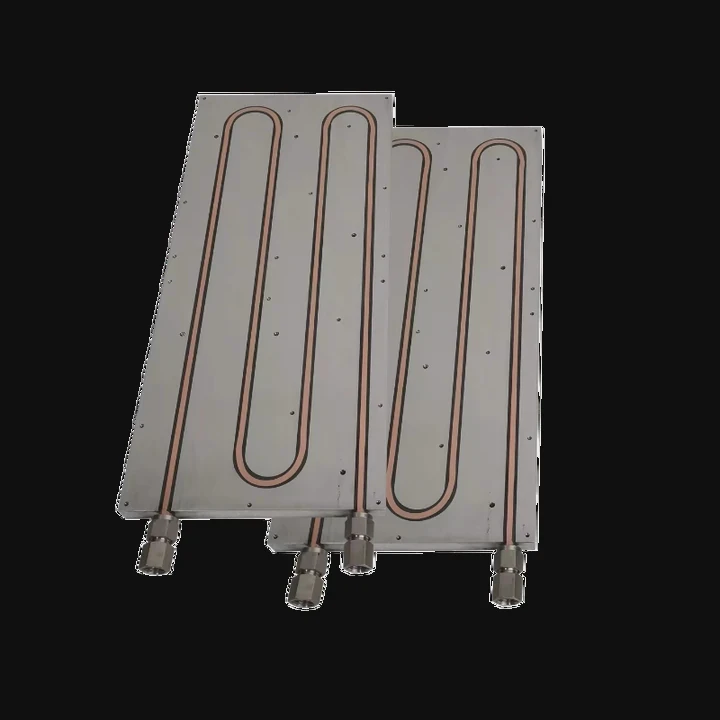
- Liquid cooling plate Manufacturer
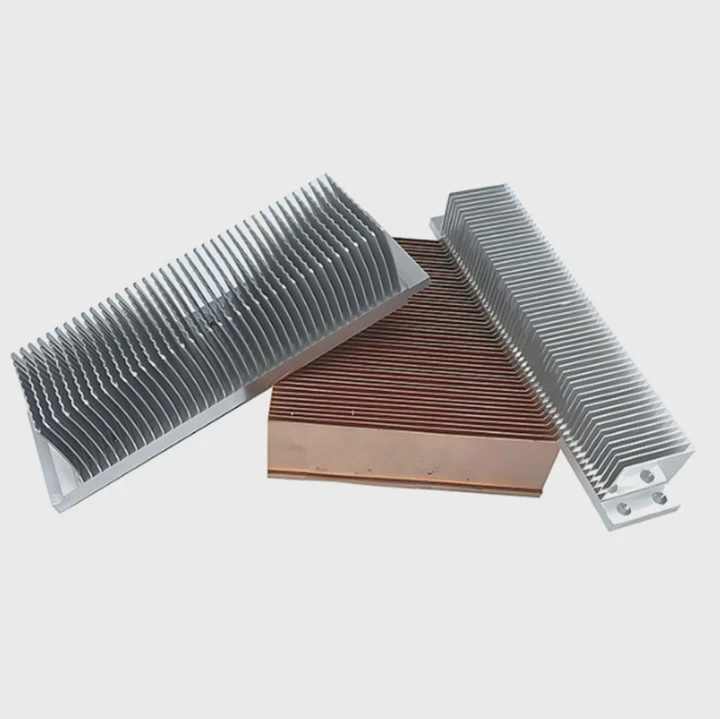
- Industrial Heat Sink Manufacturer
- Standard Heat Sink Manufacturer
- Aluminum Heat Sink Manufacturer
- Copper Heat Sink Manufacturer
- Anodized Heatsink Manufacturer
- Stamping heat sink Manufacturer
- Die Casting Heatsink Manufacturer
- Soldering heat sink Manufacturer
- CNC Parts Manufacturer
Latest Products
- Wholesale Aluminum Radiator
- Water Cooling Plate Kit
- Water Cooling Heat Sink
- Water Cooling Heat Sink Kit
- Stainless Steel Water Distributor
- Server Water Cooling Plate Kit
- Server Liquid Cooling System
- Server Aluminum Cooling Kit
- S19 Full Cover Cooling Plate
- S19 Cooling Plate Kit
- S19 Aluminum Cooling Plate
Contact Expert
Have questions about this article? Reach out to our experts directly.