How to set up liquid cooling?
Liquid cooling may sound complex, but it’s easier than ever thanks to modern designs and preassembled systems. With proper setup, it can keep your hardware running cooler, quieter, and longer.
To set up liquid cooling, install the radiator, connect the pump and tubing, apply thermal paste, and ensure coolant flow and fan operation are configured properly.
When installed correctly, a liquid cooling system provides superior heat management and system stability for both casual and professional builds.
What is liquid cooling?
Traditional air coolers rely on fans and metal fins to move heat away from components. Liquid cooling takes this further by using a fluid to transfer heat more efficiently.
Liquid cooling is a heat management system that circulates coolant through a closed loop to absorb, transport, and release heat from electronic components.
How It Works
- Absorption: Heat from the CPU or GPU is transferred to a metal cold plate in the water block.
- Circulation: The pump moves the heated coolant through flexible tubes to the radiator.
- Dissipation: Fans push air through the radiator fins, releasing heat to the surrounding environment.
- Return Flow: The cooled liquid returns to the water block to repeat the process.
Main Components
| Component | Function |
|---|---|
| Water Block | Absorbs heat from the component surface |
| Pump | Circulates coolant through the loop |
| Radiator | Releases heat from coolant into the air |
| Fans | Move air through radiator fins |
| Tubing | Connects cooling components |
| Coolant | Transfers heat within the system |
Liquid cooling can be either All-In-One (AIO) — sealed and maintenance-free — or custom loop, where users design their own configuration for maximum performance.
What are the benefits of proper setup?
Even the best cooling system won’t perform well if poorly installed. Proper setup is the key to consistent temperatures and quiet operation.
A properly set up liquid cooling system delivers better thermal performance, lower noise, longer hardware life, and improved overclocking stability.

Key Benefits
Efficient Heat Transfer
Liquids conduct heat better than air, maintaining stable component temperatures even under heavy load.Quiet Performance
Efficient cooling allows fans to spin slower, significantly reducing system noise.Improved System Longevity
Stable temperatures prevent premature component wear and damage from heat stress.Enhanced Overclocking Potential
Cooler CPUs and GPUs can run at higher frequencies safely, improving performance.Clean Aesthetic Design
Liquid cooling reduces clutter and creates a sleek, professional look inside the case.
Performance Comparison
| Feature | Air Cooling | Liquid Cooling |
|---|---|---|
| Cooling Efficiency | Medium | High |
| Noise Level | High | Low |
| Overclocking Support | Limited | Excellent |
| Aesthetics | Basic | Premium |
| Maintenance | Minimal | Moderate |
Proper setup makes the difference between a good system and a great one.
How to install and configure liquid cooling?
Installing liquid cooling can be straightforward when done carefully. Following a structured approach ensures safety and peak efficiency.
To install and configure liquid cooling, mount the radiator, attach the pump block, connect the tubing, and configure fan and pump settings for optimal temperature control.
Step 1: Prepare the Workspace
Turn off your computer and unplug it. Place the case on a flat surface with plenty of light. Gather a screwdriver, thermal paste, and cable ties.
Step 2: Install the Backplate
Most systems include a backplate for the CPU socket. Place it behind the motherboard to provide support for the pump block.
Step 3: Mount the Radiator
Choose a case location (top, front, or rear). Secure the radiator and fans with screws, ensuring the airflow direction matches your setup goals.
Step 4: Apply Thermal Paste
Apply a small, pea-sized drop of paste to the CPU center. This ensures proper contact between the cooler and processor.
Step 5: Attach the Pump Block
Align the block with the CPU and screw it in evenly using a crisscross pattern. Tighten gently but firmly.
Step 6: Connect Tubing
Avoid sharp bends or twists. Tubes should have smooth curves to allow free coolant flow.
Step 7: Connect Cables
- Pump Cable: Plug into the AIO_PUMP or CPU_FAN header.
- Fan Cables: Connect to motherboard or fan hub.
- RGB Cable (if applicable): Connect to RGB or ARGB header for lighting control.
Step 8: Power On and Test
Start the system and check that:
- Fans are spinning.
- The pump makes a quiet humming sound.
- CPU temperatures remain between 25°C–75°C under load.
Step 9: Configure Software
Use your motherboard BIOS or software tools like Corsair iCUE, NZXT CAM, or MSI Center to adjust fan and pump speed curves for balance between performance and noise.
Step 10: Manage Cables and Airflow
Tidy cables with zip ties to avoid blocking airflow and ensure a neat internal layout.
Installation Checklist
| Step | Task | Goal |
|---|---|---|
| 1 | Mount radiator | Ensure heat dissipation |
| 2 | Attach pump block | Maximize CPU contact |
| 3 | Connect power cables | Stable power delivery |
| 4 | Configure fan curves | Control temperature and noise |
| 5 | Test system | Verify operation |
Once configured, your cooling system should run quietly and keep temperatures consistent even during intense gaming or rendering.
What are the innovations in setup simplicity?
As technology advances, manufacturers are making liquid cooling easier and safer to install, even for beginners.
Modern liquid cooling innovations focus on modular installation, smart control systems, and prefilled, maintenance-free loops.
1. Tool-Free Mounting Systems
Newer coolers feature magnetic or clip-on brackets compatible with multiple CPU sockets, eliminating complex screw alignment.
2. Prefilled and Sealed Loops
All-In-One coolers come prefilled with coolant, ensuring zero leakage and no need for refills during their lifespan.
3. AI-Based Thermal Management
AI algorithms automatically adjust pump and fan speeds based on real-time workload, optimizing efficiency without manual tuning.
4. Compact Radiator Designs
Manufacturers are producing thinner radiators and flexible tubing to fit small-form-factor (SFF) cases without sacrificing performance.
5. Integrated Display and Monitoring
Premium coolers now include small LCD screens on the pump block, showing CPU temperatures, system load, and even custom logos.
6. Eco-Friendly Coolants
New biodegradable, non-toxic fluids reduce environmental impact while maintaining high heat transfer performance.
Innovation Overview
| Trend | Description | Key Benefit |
|---|---|---|
| Tool-Free Mounts | Quick and universal installation | Easier setup |
| Prefilled Loops | Factory-sealed coolant | Zero maintenance |
| AI Control | Smart automatic cooling | Optimized efficiency |
| Compact Radiators | Slim, flexible designs | Space saving |
| Smart Displays | Built-in temperature monitors | Real-time feedback |
| Green Coolants | Sustainable materials | Environmental safety |
These advancements make liquid cooling accessible to anyone — combining high performance with plug-and-play simplicity.
Conclusion
Setting up liquid cooling is simple when done correctly. It delivers powerful, quiet, and efficient cooling for modern systems. With new tool-free designs, AI-driven control, and eco-friendly coolants, the future of cooling setup is smarter, faster, and more user-friendly than ever.
TAGS
Latest Articles

Volume discount levels for heat sink orders?
Buyers often ask when heat sink prices start to drop with volume. Many worry they’re overpaying for small orders. This guide explains how B2B volume pricing works for thermal components. Heat sink
21 Dec,2025
Heat sink long-term supply contract options?
Many buyers want stable pricing and reliable delivery for heat sinks. But without a clear contract, risks grow over time. This article explores how to secure better long-term supply deals. Long-term
21 Dec,2025
Tooling cost for new heat sink profiles?
Many engineers struggle to understand why tooling for custom heat sinks costs so much. They worry about budgeting and production timelines. This article breaks down the cost drivers behind tooling.
21 Dec,2025
Heat sink custom sample process steps?
Sometimes, starting a custom heat sink project feels overwhelming—too many steps, too many unknowns, and too many risks. You want a sample, but not endless delays. The process for requesting and
20 Dec,2025
Standard B2B terms for heat sink payments?
When buyers and sellers in B2B heat sink markets talk about payment, many don’t fully understand what’s standard. This can lead to delayed orders, miscommunication, and even lost business
20 Dec,2025
Heat sink pricing factors for large orders?
Heat sinks are vital for many systems. When prices rise, projects stall and budgets break. This problem can hit teams hard without warning. Large order heat sink pricing depends on many factors. You
20 Dec,2025Related Articles
- How to set up a liquid CPU cooler?
- How to know if liquid cooler is working?
- What is AIO liquid cooling?
- What liquid is used for liquid cooling?
- Why is my liquid cooling so hot?
- How to cool hot liquid fast?
- How to cool down liquid quickly?
- How much is a liquid cooling system?
- Is the Xbox One X liquid cooled?
- Does liquid cooling need to be replaced?
- What is an all-in-one liquid cooler?
- Who makes liquid cooling systems for data centers?
Author
Dr. Emily Chen
Chief AI Researcher
Leading expert in thermal dynamics and AI optimization with over 15 years of experience in data center efficiency research.
Categories
Latest Products


Recommend Categories
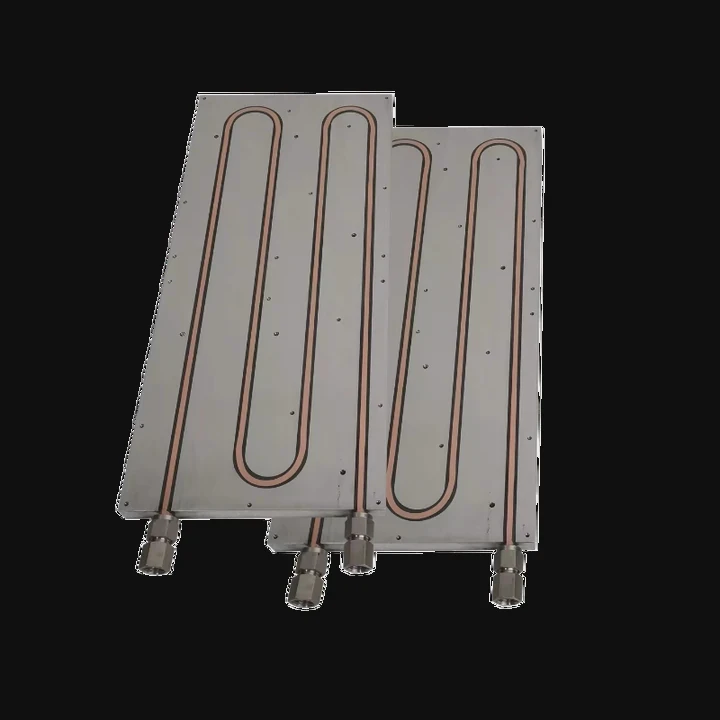
- Liquid cooling plate Manufacturer
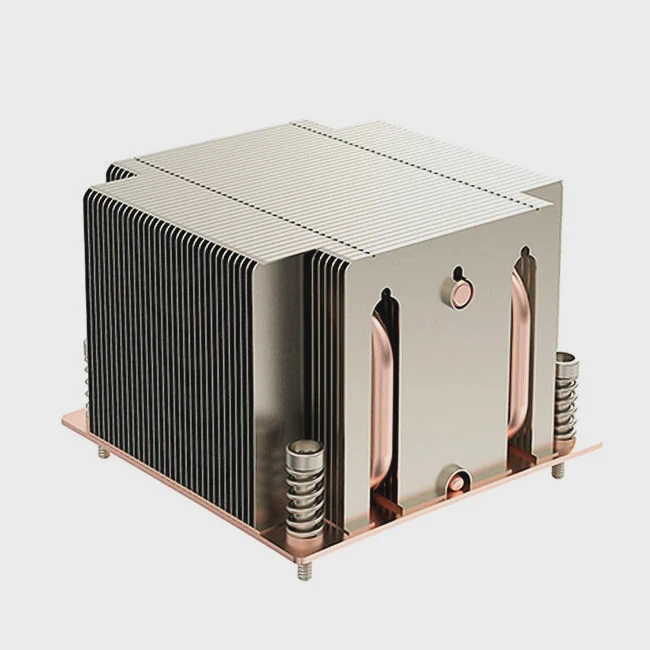
- Industrial Heat Sink Manufacturer
- Standard Heat Sink Manufacturer
- Aluminum Heat Sink Manufacturer
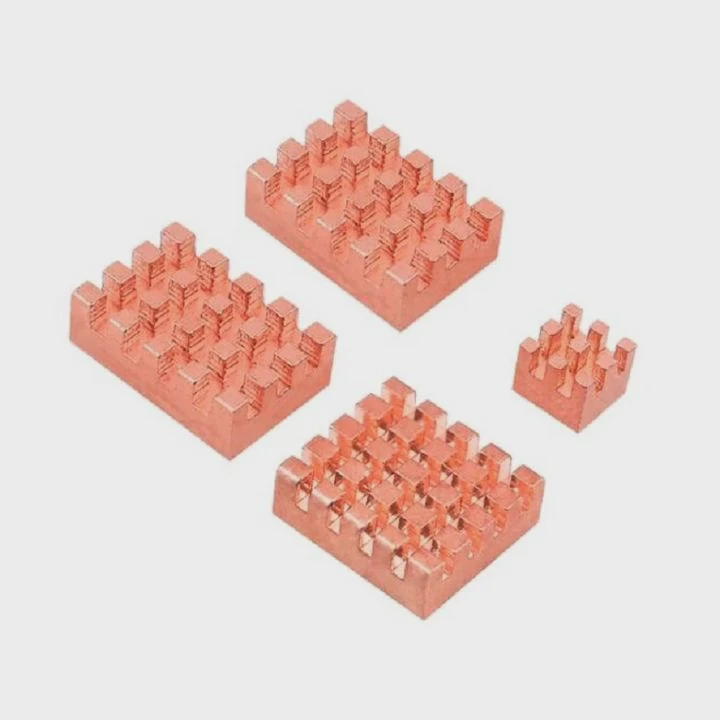
- Copper Heat Sink Manufacturer
- Anodized Heatsink Manufacturer
- Stamping heat sink Manufacturer
- Die Casting Heatsink Manufacturer
- Soldering heat sink Manufacturer
- CNC Parts Manufacturer
Latest Products
- Wholesale Aluminum Radiator
- Water Cooling Plate Kit
- Water Cooling Heat Sink
- Water Cooling Heat Sink Kit
- Stainless Steel Water Distributor
- Server Water Cooling Plate Kit
- Server Liquid Cooling System
- Server Aluminum Cooling Kit
- S19 Full Cover Cooling Plate
- S19 Cooling Plate Kit
- S19 Aluminum Cooling Plate
Contact Expert
Have questions about this article? Reach out to our experts directly.