How to install liquid CPU cooling system?
When your CPU overheats, performance drops and your system may crash. Many users fear liquid cooling because it looks complex, but it can be easier than you think.
Installing a liquid CPU cooling system involves connecting the radiator, pump, tubes, and fan to maintain ideal CPU temperatures efficiently.
Once you understand how the system works, installation becomes simple and rewarding. Let’s go step by step, from parts to setup trends, so you can master it confidently.
What components are in a CPU cooling system?
When your CPU works under heavy load, heat builds up fast. Without proper cooling, performance decreases and hardware lifespan shortens.
A CPU liquid cooling system includes key components like the radiator, pump, water block, reservoir, tubes, and fans. Each part works together to remove heat efficiently.

Understanding Each Component
A liquid CPU cooling system works by transferring heat from the CPU to a liquid coolant, which circulates through tubes to a radiator. Airflow from fans then cools the liquid before it returns to repeat the process. Here is a breakdown of each major part:
| Component | Function |
|---|---|
| Water Block | Sits on the CPU surface, absorbing heat through a copper base. |
| Pump | Circulates coolant through the system continuously. |
| Radiator | Dissipates heat from the liquid using metal fins and fans. |
| Fans | Push or pull air through the radiator to cool the liquid. |
| Tubes | Connect all components, allowing liquid to flow in a loop. |
| Coolant | Special non-conductive liquid that transfers heat safely. |
Why Each Part Matters
Every part has a role in heat transfer. The pump and water block are like the heart and lungs of the system. Without a strong pump, coolant flow slows down and temperatures rise. Without good contact between the CPU and block, heat can’t move effectively. The radiator and fans ensure the system stays stable under load, which is vital for gaming or heavy work.
Understanding these parts before installation helps avoid common issues like leaks, poor thermal contact, or air bubbles trapped in the system.
What benefits come from proper installation?
A poor installation often causes noise, leaks, or weak cooling results. Many first-time users underestimate how much setup affects performance.
Proper installation ensures efficient heat transfer, quieter operation, longer hardware lifespan, and stable CPU performance under heavy load.
Key Benefits Explained
When installed correctly, a liquid cooling system offers clear benefits compared to air cooling.
| Benefit | Explanation |
|---|---|
| Lower CPU Temperatures | A well-installed system keeps CPU temps 20–30°C cooler under load. |
| Reduced Noise | Fans spin slower, producing less noise than high-speed air coolers. |
| Better Aesthetics | Custom loops add a clean and modern look to your PC build. |
| Increased Longevity | Components last longer when operating at stable temperatures. |
| Stable Performance | Prevents CPU throttling and ensures consistent performance during tasks. |
The Real Difference
In real-world use, the benefits show over time. For example, during long gaming sessions or 3D rendering, air-cooled CPUs often reach thermal limits, while a liquid-cooled CPU maintains steady speed. Less noise means a better work environment too. Properly mounted pumps and tight fittings prevent leaks, ensuring peace of mind for years.
How to install the system step by step?
If you have never installed liquid cooling before, it may seem hard. But following a clear sequence makes the process simple.
To install a liquid cooling system, mount the radiator and fans, attach the water block to the CPU, connect the tubes, and power the pump safely.

Step 1: Prepare Your Workspace
Shut down your PC and unplug the power. Work on a flat surface with good lighting. Remove the side panel of your case and clear the CPU area.
Step 2: Check Compatibility
Make sure your cooler fits your CPU socket and case. Some large radiators may require removing unused drive cages. Read the manufacturer’s guide carefully before starting.
Step 3: Install the Radiator and Fans
Attach the radiator to your case, usually at the top or front panel. Mount the fans in push or pull configuration depending on your airflow plan. Secure them tightly but avoid overtightening screws to prevent damage.
Step 4: Mount the Water Block
Apply a pea-sized drop of thermal paste to the CPU. Align the water block and secure it evenly using the mounting bracket. Tighten screws diagonally for equal pressure.
Step 5: Connect the Tubes
Ensure tubes are free from twists or sharp bends. Connect one tube from the pump outlet to the radiator and another from the radiator to the water block inlet. Most AIO systems already have prefilled tubes, but for custom loops, check for leaks before powering on.
Step 6: Connect Power and Test
Plug the pump cable into the CPU_FAN or dedicated PUMP header on your motherboard. Connect fan cables to either the motherboard or fan controller. Before final assembly, run the system for a few minutes to check for leaks or strange noises.
Step 7: Final Cable Management
Organize cables with ties and route them neatly behind the motherboard tray. This not only looks clean but improves airflow too.
Step 8: Power Up and Monitor
Boot the system and enter BIOS. Check if the pump speed and fan speeds are detected. Use software like HWMonitor to watch CPU temperatures. Idle temps should stay between 25°C–40°C, while heavy loads may reach 60°C–70°C, depending on your cooler model.
Pro Tips
- Always mount the radiator so that air can escape easily, avoiding trapped bubbles.
- Use high-quality thermal paste for better heat transfer.
- Keep your pump powered directly from the motherboard to maintain consistent flow.
Following these steps ensures your installation runs smoothly, even if it’s your first time building a liquid-cooled PC.
What are the setup trends in CPU cooling?
Technology in CPU cooling is evolving quickly. Builders now want both performance and visual appeal. Liquid cooling design has become smarter and more efficient.
Modern CPU cooling trends include all-in-one (AIO) compact systems, RGB customization, smart control software, and eco-friendly coolants.
Trend 1: All-in-One (AIO) Simplicity
AIO systems dominate the market because they combine the pump, block, and radiator into a single unit. They are prefilled, easy to install, and require no maintenance. This trend continues because even beginners can install them safely without building a custom loop.
Trend 2: Smart Control and Monitoring
New coolers include digital displays and software control. You can now monitor temperatures, fan speeds, and pump RPMs in real time. Some models even auto-adjust cooling performance based on system load, improving efficiency and reducing energy use.
Trend 3: RGB Customization
RGB lighting is no longer just for aesthetics. Many users sync lighting with system performance indicators. For example, color can change based on CPU temperature, offering a quick visual cue of your system’s health.
Trend 4: Eco-Friendly Coolants
Manufacturers are moving toward non-toxic and biodegradable coolants. These liquids reduce environmental impact and improve safety during maintenance or disposal.
Trend 5: Hybrid Cooling Systems
Hybrid systems combine air and liquid cooling. A small pump handles CPU heat while additional fans cool VRMs or memory modules. This ensures even temperature control across all components, not just the CPU.
Trend 6: Modular and Custom Loops
Advanced users now prefer modular setups. These allow expansion to GPU or chipset cooling. Custom loops with hard tubing also offer cleaner builds and stronger visual appeal. However, they require careful design and leak testing.
Looking Ahead
In the next few years, AI-controlled cooling systems will become more common. These systems will use temperature sensors and predictive algorithms to balance cooling and noise automatically. The trend points toward efficiency, automation, and sustainability—all while keeping high performance.
Conclusion
Installing a liquid CPU cooling system may seem complex at first, but with the right steps and understanding of its components, anyone can do it. Proper setup improves performance, extends hardware life, and enhances the look of your PC. With new trends making systems smarter and easier, liquid cooling is now more accessible than ever for both beginners and experts.
TAGS
Latest Articles

Volume discount levels for heat sink orders?
Buyers often ask when heat sink prices start to drop with volume. Many worry they’re overpaying for small orders. This guide explains how B2B volume pricing works for thermal components. Heat sink
21 Dec,2025
Heat sink long-term supply contract options?
Many buyers want stable pricing and reliable delivery for heat sinks. But without a clear contract, risks grow over time. This article explores how to secure better long-term supply deals. Long-term
21 Dec,2025
Tooling cost for new heat sink profiles?
Many engineers struggle to understand why tooling for custom heat sinks costs so much. They worry about budgeting and production timelines. This article breaks down the cost drivers behind tooling.
21 Dec,2025
Heat sink custom sample process steps?
Sometimes, starting a custom heat sink project feels overwhelming—too many steps, too many unknowns, and too many risks. You want a sample, but not endless delays. The process for requesting and
20 Dec,2025
Standard B2B terms for heat sink payments?
When buyers and sellers in B2B heat sink markets talk about payment, many don’t fully understand what’s standard. This can lead to delayed orders, miscommunication, and even lost business
20 Dec,2025
Heat sink pricing factors for large orders?
Heat sinks are vital for many systems. When prices rise, projects stall and budgets break. This problem can hit teams hard without warning. Large order heat sink pricing depends on many factors. You
20 Dec,2025Related Articles
- How does a CPU liquid cooler work?
- How does liquid metal cooling work?
- Which is better, air-cooled or liquid?
- Is liquid cooling better than fan cooling?
- How much is liquid cooling?
- What liquid does liquid cooling use?
- Is liquid cooling GPU worth it?
- Is liquid cooling better than air cooling Reddit?
- How to refill CPU liquid cooler?
- What is the best AIO liquid cooler?
- Does PS5 have liquid cooling?
- How to fill a liquid CPU cooler?
Author
Dr. Emily Chen
Chief AI Researcher
Leading expert in thermal dynamics and AI optimization with over 15 years of experience in data center efficiency research.
Categories
Latest Products


Recommend Categories
- Liquid cooling plate Manufacturer
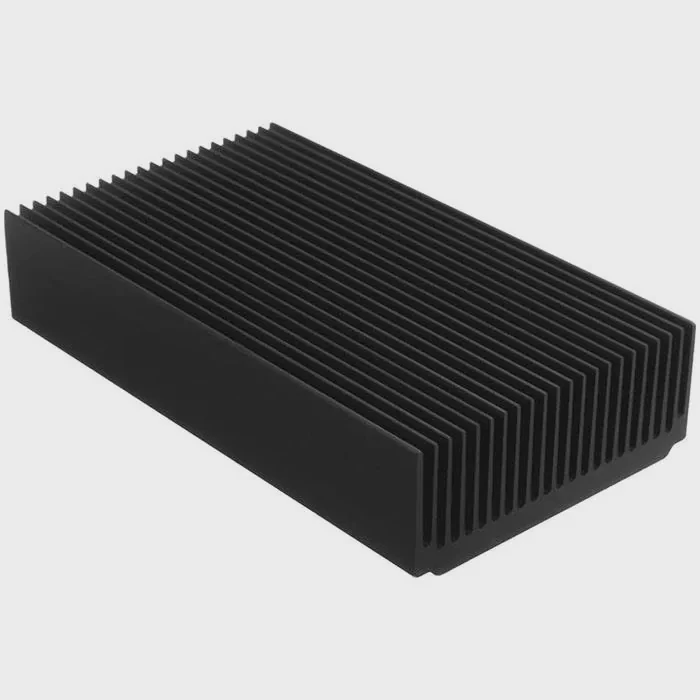
- Industrial Heat Sink Manufacturer
- Standard Heat Sink Manufacturer
- Aluminum Heat Sink Manufacturer
- Copper Heat Sink Manufacturer
- Anodized Heatsink Manufacturer
- Stamping heat sink Manufacturer
- Die Casting Heatsink Manufacturer
- Soldering heat sink Manufacturer
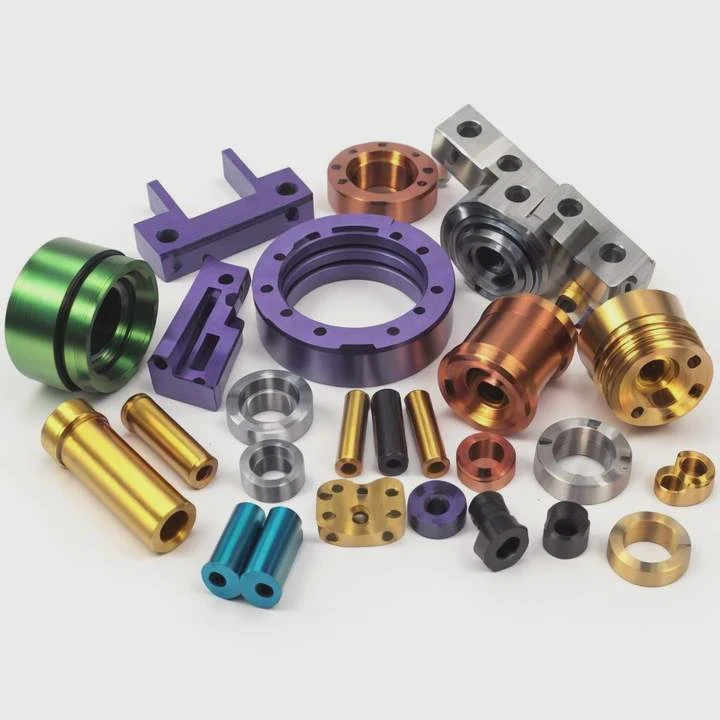
- CNC Parts Manufacturer
Latest Products
- Wholesale Aluminum Radiator
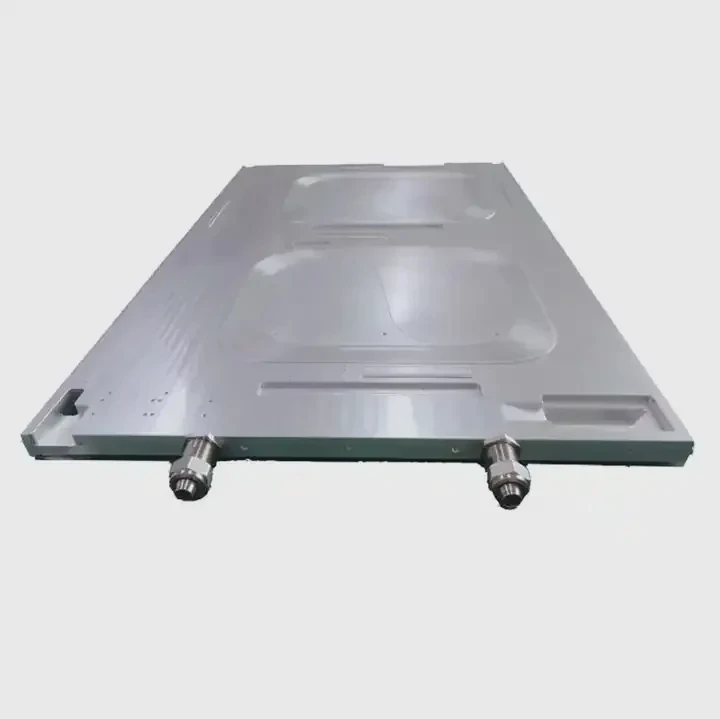
- Water Cooling Plate Kit
- Water Cooling Heat Sink
- Water Cooling Heat Sink Kit
- Stainless Steel Water Distributor
- Server Water Cooling Plate Kit
- Server Liquid Cooling System
- Server Aluminum Cooling Kit
- S19 Full Cover Cooling Plate
- S19 Cooling Plate Kit
- S19 Aluminum Cooling Plate
Contact Expert
Have questions about this article? Reach out to our experts directly.