How to clean a processor CPU heatsink?
I remember the first time I opened my PC and saw a thick gray layer packed inside the heatsink. It shocked me how quietly dust builds up.
You can clean a CPU heatsink by removing loose dust, clearing the tight fins, and wiping the base surface. Dust blocks airflow and raises temperature quickly, so cleaning restores cooling strength.
I want to show you the simple steps I learned so you can clean your own sink without fear or damage.
Why remove dust between fins?
I used to think that dust sitting on top of the heatsink was harmless. Later, I learned the real danger hides deep between the fins.
Dust inside heatsink fins blocks airflow, traps heat, and makes the CPU run hotter even during light tasks. Removing this dust restores smooth air paths and keeps temperature stable.
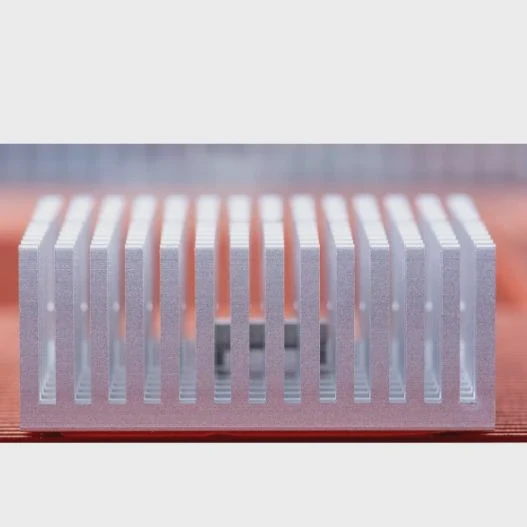
I see dust act like a wall inside narrow fins. Air cannot pass through. When air stops moving, the heat stays inside the metal stack. I once checked a system that shut down during a simple game. The fins were filled with dust. After a full clean, the temperature dropped by more than twenty degrees. The change felt huge. It proved to me that dust is not small. It hurts cooling from the inside.
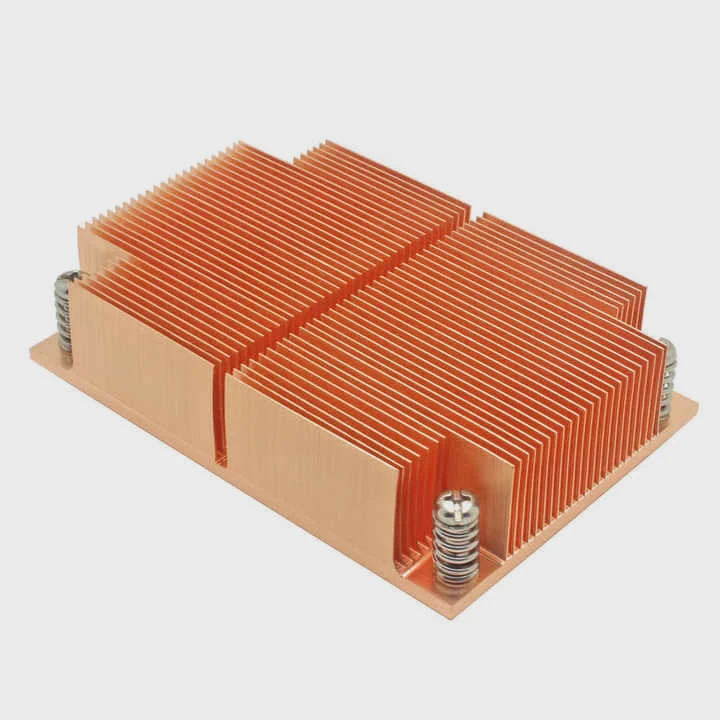
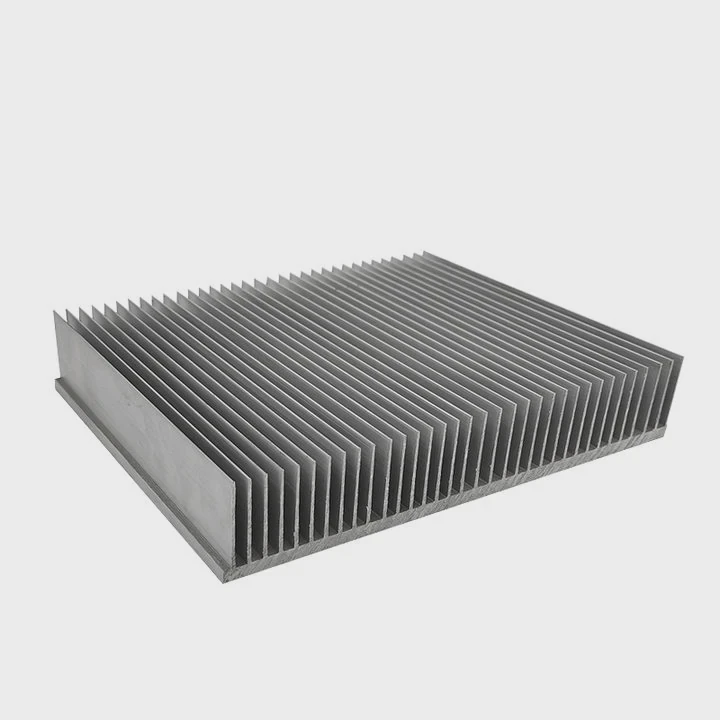
When I look inside a heatsink, I see rows of thin metal plates. These plates need clear space between them. The space lets the fan push air through. If dust fills the gaps, the air reaches a dead stop. The heat then builds up in the plates. The plate temperature rises and warms the CPU base. Even the fan speed cannot fix this. The fan only makes more noise as it tries to move air that cannot pass.
Why dust builds deep inside
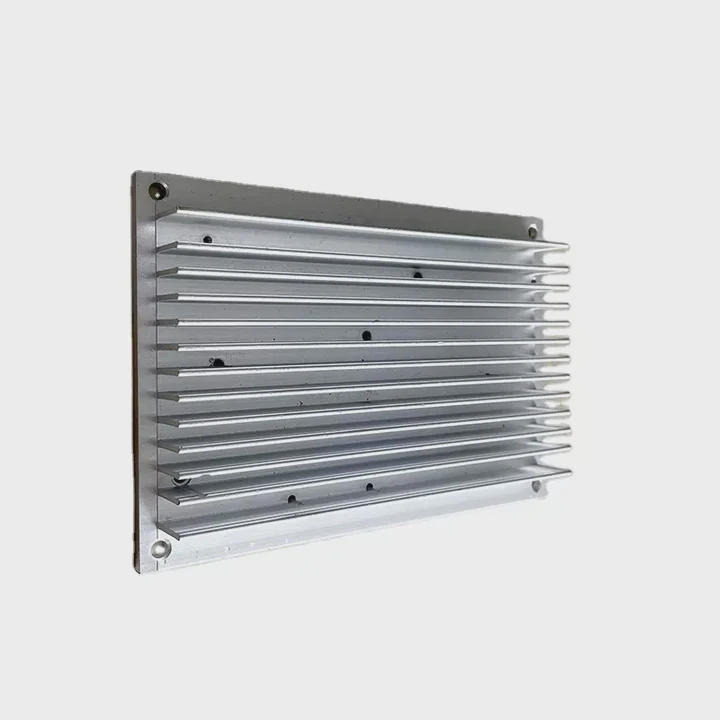
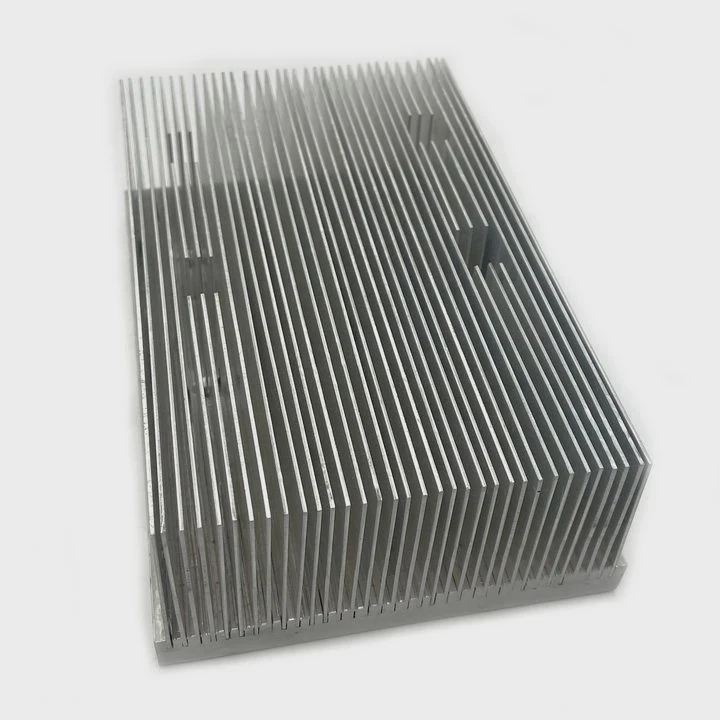
I notice dust sticks faster in tight fins. This happens because warm air rises from the CPU, and the fan pulls more dust into the front fins. The first few rows catch the most dust. These rows become thicker than the rest. When I clean a sink, I always check the first row. If the first row is blocked, the whole sink runs hot.
Table: How dust affects cooling
| Dust Level | Airflow Impact | Temperature Change |
|---|---|---|
| Light film | Small | +2–5°C |
| Packed layer | Strong | +10–15°C |
| Fully clogged | Severe | +20°C or more |
These values come from my own builds. Each time I saw a packed layer, the CPU behaved like it used a much weaker cooler. This is why I always clean the sink when I notice the fan noise climb.
What happens if dust stays
If dust sits for months, it becomes harder and sticks like felt. This layer traps heat like a blanket. The CPU then sits close to its limit even in idle. I once worked on an office PC that froze every hour. The sink looked clean outside, but the inside was dark with dust. After deep cleaning, it ran stable again.
Removing dust between fins keeps the cooler healthy and gives the CPU the full airflow it needs. I learned this the hard way, but now it is one of the first checks I make on any build.
Which tools reach narrow gaps?
I used to struggle with tight spaces inside the heatsink. My fingers could not reach inside, and my cloth would tear. Then I learned the right tools.
Soft brushes, compressed air, cotton swabs, and thin plastic sticks can reach the narrow gaps inside the heatsink without bending the fins or scratching the base.
I learned that each tool works best for a different part of the sink. A soft brush removes surface dust. Compressed air blows out the deep debris. A cotton swab can clean the edges. A thin stick helps guide the swab through tight rows. I use each tool gently so the metal fins stay straight. Fins bend easily. One small bend does not break the cooler, but many bends lower airflow and make noise.
When I started cleaning my first heatsink, I used only a cloth. It pushed dust deeper. It took me much longer to finish. Later, I tested brushes. They work like tiny brooms. The bristles reach between the fins without scraping. Compressed air then removes what the brush loosens. This two-step method saves me a lot of time.
How each tool helps
| Tool | Best Use | What to Avoid |
|---|---|---|
| Soft brush | Dust on fins | Hard pressure |
| Compressed air | Deep dust | Spray too close |
| Cotton swab | Corners and edges | Letting fibers catch |
| Plastic stick | Guide swab | Bending fins |
How I clean narrow gaps safely
When I use compressed air, I keep the can upright and blow short bursts. Strong bursts at close range can damage the fan or bend the fins. I hold the sink at an angle. This lets dust escape out the side. If the dust flies back inside, it defeats the purpose.
When I use a brush inside narrow fins, I push lightly. My hand stays steady. I learned a trick: I brush along the fin direction, not against it. This keeps the fins safe. If the fins bend even a little, I straighten them with a thin plastic stick. I push slowly until the gap looks even again.
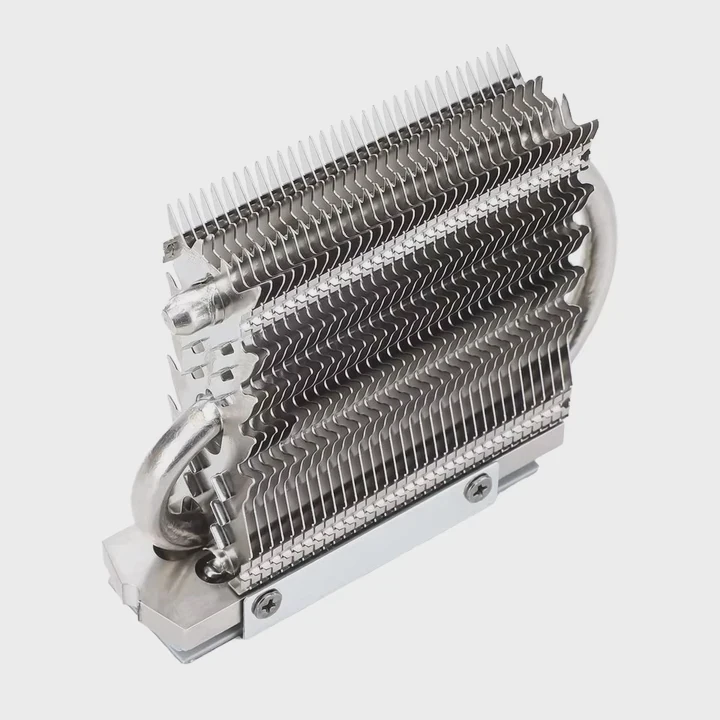
Cotton swabs help with the thick dust near the base. They also clean the area around the heat pipes. Sometimes the dust there mixes with old grease. I dip the swab in a tiny bit of alcohol and clean the spot. Then I wait until it dries before reassembly.
These tools help me reach every hidden corner. With them, the sink becomes clean without damage.
Can water harm coatings?
I once considered washing a heatsink under running water. It looked like an easy shortcut. Then I learned why it can cause real trouble.
Water can harm some heatsink coatings and leave residue between the fins. It can also cause corrosion if it stays trapped. Dry cleaning is safer unless the sink is bare metal and dried fully.
Many heatsinks use anodized aluminum or painted surfaces. Water can react with these surfaces, especially if minerals remain after drying. I saw one sink develop white marks after a rinse. The coating lost its smooth feel. The marks did not break cooling fully, but they changed the look and texture.
I also saw what trapped water can do. Water stays inside the small gaps under the base plate. Even if the sink looks dry, hidden moisture sits inside. If the sink meets heat, the water turns to steam and may crack small layers. It can also create slow corrosion. I once saw brown spots under a heat pipe after someone washed the sink.
Why water seems tempting
Water removes dust fast. It pushes out thick layers in seconds. But water also pushes dust deeper if the stream is not strong enough. Dust turns sticky and becomes harder to remove. This is why I avoid rinsing unless I am sure the sink has no coating and can dry for days.
When water is still safe
Bare aluminum blocks can be washed if dried fully. I once washed a simple aluminum block by hand. I shook the water out and left it in a warm, dry place for two days. It worked fine. But I avoid washing any painted or color-coated sinks. These coatings protect the metal. Water may ruin them.
Simple rules I follow
I follow three simple rules whenever I face a dirty sink:
Safe rules for water contact
- I avoid water on painted or coated fins
- I avoid water near heat pipes unless fully sealed
- I use alcohol only for spot cleaning
If a sink is very dirty, I use compressed air and brushes first. These safe tools remove most dust. If any sticky dirt remains, I wipe it gently with alcohol. Alcohol evaporates fast and leaves no residue. It does not harm anodized surfaces when used lightly.
Water seems simple, but it hides risks. Dry methods are safer for most coolers.
Should paste be reapplied?
I learned this lesson after cleaning my own cooler and placing it back without new paste. The temperature went higher than before.
You should reapply thermal paste after removing the CPU heatsink. Old paste breaks its contact seal when the sink lifts, and new paste restores smooth heat transfer.
When I remove the sink, the paste layer tears. It loses its even shape. This creates small air pockets. Air blocks heat. Even a thin air gap can raise temperature fast. That is why new paste helps so much. It fills the tiny marks on the CPU and the sink base. It makes a full contact layer again.
Paste dries slowly over time. It becomes thick and chalky. I saw this many times. The old paste can crack or crumble when the sink lifts. This weakens the bond. Even if the paste looks fine, the seal is gone after removal. New paste makes the cooler behave like new.
How I reapply paste
I always clean the old paste with a soft cloth and alcohol. I wipe until the metal shines. Then I place a small dot of new paste in the center. The pressure from the heatsink spreads it out. This makes a thin, even coat. I do not spread paste with my finger. This can trap air inside.
How bad paste affects cooling
I once tested a system before and after repasting. Before repasting, the CPU reached high temperature fast. After new paste, the temperature dropped and stayed stable. The change was clear. It proved to me how paste controls heat travel from the CPU to the sink.
When paste is not needed
Paste is only needed when the sink is removed. If I only remove dust from the fan and do not lift the sink, I leave the paste untouched. But when deep cleaning inside the fins, I often need to lift the sink off. In these cases, paste becomes important.
Simple paste tips
Here are simple habits I use every time:
- Use a small central dot
- Clean both surfaces fully
- Tighten the sink evenly
Thermal paste is a small step, but it makes the cooling stable again. After I learned this, I never skip reapplying paste.
Conclusion
You can clean a CPU heatsink by clearing dust from the fins, using safe tools for tight spaces, avoiding water on coated surfaces, and reapplying paste after removal. A clean sink keeps airflow strong and keeps the CPU cool and steady.
TAGS
Latest Articles

Volume discount levels for heat sink orders?
Buyers often ask when heat sink prices start to drop with volume. Many worry they’re overpaying for small orders. This guide explains how B2B volume pricing works for thermal components. Heat sink
21 Dec,2025
Heat sink long-term supply contract options?
Many buyers want stable pricing and reliable delivery for heat sinks. But without a clear contract, risks grow over time. This article explores how to secure better long-term supply deals. Long-term
21 Dec,2025
Tooling cost for new heat sink profiles?
Many engineers struggle to understand why tooling for custom heat sinks costs so much. They worry about budgeting and production timelines. This article breaks down the cost drivers behind tooling.
21 Dec,2025
Heat sink custom sample process steps?
Sometimes, starting a custom heat sink project feels overwhelming—too many steps, too many unknowns, and too many risks. You want a sample, but not endless delays. The process for requesting and
20 Dec,2025
Standard B2B terms for heat sink payments?
When buyers and sellers in B2B heat sink markets talk about payment, many don’t fully understand what’s standard. This can lead to delayed orders, miscommunication, and even lost business
20 Dec,2025
Heat sink pricing factors for large orders?
Heat sinks are vital for many systems. When prices rise, projects stall and budgets break. This problem can hit teams hard without warning. Large order heat sink pricing depends on many factors. You
20 Dec,2025Related Articles
- how to add heatsink to raspberry pi 3?
- how to install mosfet heatsinks?
- how to take heatsink of 3070 ti strix?
- how much does intel stock heatsink cost?
- Do you need a heatsink for M.2 SSD?
- can extruded aluminum be a heatsink?
- how to clean ps4 fan and heatsink?
- how to remove ram heatsink without heat gun?
- how to remove thermal compound from heatsink?
- Does Ryzen come with heatsink and compound?
- does gpu heatsink have liquid?
- how do heatsink launchers work?
Author
Dr. Emily Chen
Chief AI Researcher
Leading expert in thermal dynamics and AI optimization with over 15 years of experience in data center efficiency research.
Categories
Latest Products
M.2 Heatpipe Heatsink With Dual Fans For Pc Case
19 Mar,2026
Heavy-Duty Aluminum Heat Sink Custom
19 Mar,2026
Oem Skived Fin Heatsink Aluminum Radiator For Plants
19 Mar,2026

Water Cooled Cnc Aluminum Heat Sink For Medical
19 Mar,2026
High Density 6000 Series Aluminum Heat Sink Profile
19 Mar,2026
High-Density Extruded Aluminum & Bonded-Fin Heat Sink Profile
19 Mar,2026
Recommend Categories
- Liquid cooling plate Manufacturer
- Industrial Heat Sink Manufacturer
- Standard Heat Sink Manufacturer
- Aluminum Heat Sink Manufacturer
- Copper Heat Sink Manufacturer
- Anodized Heatsink Manufacturer
- Stamping heat sink Manufacturer
- Die Casting Heatsink Manufacturer
- Soldering heat sink Manufacturer
- CNC Parts Manufacturer
Latest Products
- M.2 Heatpipe Heatsink With Dual Fans For Pc Case
- Heavy-Duty Aluminum Heat Sink Custom
- Oem Skived Fin Heatsink Aluminum Radiator For Plants
- Water Cooled Cnc Aluminum Heat Sink For Medical
- High Density 6000 Series Aluminum Heat Sink Profile
- High-Density Extruded Aluminum & Bonded-Fin Heat Sink Profile
- Dongguan Cnc Aluminum Heat Sink For Led & Brass Parts
- Wholesale Cnc Aluminum Heat Sink - Custom Extruded
- Led Cnc Round Heat Sink With Screw Holes
- Copper Pin-Fin Heat-Sink Large-Area For Photoled Cooling
- Telecom Heatsink Zipper Fin Wcopper Tubes Oem
Contact Expert
Have questions about this article? Reach out to our experts directly.