How to install a liquid cooling system?
If your PC runs hot or noisy, it’s time to consider liquid cooling. It keeps temperatures low, performance high, and systems quiet — perfect for gaming, design, and engineering setups.
Installing a liquid cooling system involves mounting a radiator, connecting coolant lines, attaching the CPU block, and setting up pump power for efficient heat transfer.
In this guide, I’ll explain what components you need, the full installation process, and the latest PC cooling trends shaping 2025.
What components are needed for installation?
Before starting the installation, it’s important to know what’s inside a liquid cooling system and what each part does.
A liquid cooling setup needs a water block, pump, radiator, coolant, tubing, and fans — each component plays a key role in moving and dissipating heat.

Core Components Explained
| Component | Function | Notes |
|---|---|---|
| Water Block | Sits on the CPU/GPU and transfers heat to the coolant. | Usually made of copper or nickel-plated copper. |
| Pump | Circulates coolant through the loop. | Integrated in AIO units or standalone in custom loops. |
| Radiator | Releases heat from coolant into the air. | Sizes: 120mm, 240mm, 280mm, 360mm. |
| Fans | Push air through the radiator for heat dissipation. | Use high static-pressure fans for best results. |
| Coolant | Transfers heat between block and radiator. | Pre-mixed or custom-colored fluids available. |
| Tubing | Connects all components. | Materials: soft PVC or rigid acrylic. |
| Reservoir (optional) | Holds extra coolant and makes refilling easier. | Common in custom loops. |
AIO vs. Custom Loop
- AIO (All-In-One) systems are sealed and pre-filled — easy to install, low maintenance.
- Custom loops allow personalized layouts, multiple blocks (CPU + GPU), and more flexibility.
Tools You’ll Need
Before starting, prepare:
- Phillips screwdriver
- Thermal paste
- Cable ties
- Scissors or tubing cutter (for custom loops)
- Paper towels (for leak testing)
Proper preparation helps you avoid leaks and ensures smooth installation.
What are the benefits of liquid cooling setup?
Upgrading from air cooling to liquid cooling can dramatically improve system stability and performance.
Liquid cooling offers better temperature control, lower noise, improved aesthetics, and longer component lifespan.
Lower CPU and GPU Temperatures
Coolant transfers heat more efficiently than air. Expect a temperature drop of 10°C to 25°C depending on system load and ambient conditions.
This prevents throttling, especially in gaming or heavy rendering tasks.
Quieter Operation
Radiator fans can run at slower speeds since coolant absorbs more heat. This makes the system quieter than air-cooled PCs, even during intense use.
Extended Component Lifespan
Consistent temperatures reduce stress on components.
Lower thermal cycling means longer life for the CPU, GPU, and motherboard VRMs.
Better Overclocking Potential
With lower temperatures, your CPU can sustain higher boost frequencies. Many enthusiasts report 5–10% performance gains after switching to liquid cooling.
Sleek Visual Design
Liquid cooling adds a modern and professional look. RGB-lit coolants and clear tubing are often used for custom builds and showcase PCs.
Summary of Benefits
| Feature | Air Cooling | Liquid Cooling |
|---|---|---|
| Cooling Efficiency | Moderate | Excellent |
| Noise Level | Higher | Lower |
| Overclocking | Limited | High potential |
| Aesthetics | Basic | Premium visual |
| Maintenance | Low | Moderate |
| Cost | Budget | Higher |
For builders who want both performance and beauty, liquid cooling is the ultimate choice.
How to install a full liquid cooling system?
Installing a liquid cooling system may seem complex, but following a step-by-step process makes it manageable.
To install a liquid cooling system, mount the radiator and fans, attach the water block, connect tubes, fill coolant, and test for leaks before powering on.
Step 1: Plan the Loop Layout
Visualize where each part will go — radiator, pump, block, and reservoir (if used).
Keep the loop simple with smooth tubing bends and avoid sharp angles.
Tip: The pump should always be below the reservoir to prevent air bubbles.
Step 2: Install the Radiator and Fans
Mount the radiator inside your case using provided screws.
Attach fans either as intake (front-mounted) or exhaust (top-mounted).
Ensure fans push air in the same direction for steady airflow.
Step 3: Mount the CPU Water Block
Apply a pea-sized amount of thermal paste to the CPU surface.
Position the block and tighten screws diagonally to ensure even pressure.
Connect the pump’s power cable to your motherboard’s AIO_PUMP header.
Step 4: Connect Tubing
Attach tubes from:
- Pump → Radiator
- Radiator → CPU Block
- CPU Block → Reservoir (optional)
Use clamps or compression fittings to secure each joint.
For rigid tubing, heat and bend carefully to match your layout.
Step 5: Fill Coolant and Leak Test
Fill the reservoir with coolant slowly.
Run the pump using a power supply jumper (without turning on the PC) for 15–30 minutes to circulate fluid and check for leaks.
If no leaks appear, top off the reservoir and close the loop.
Step 6: Power On and Monitor
Boot the PC and check CPU temperatures in BIOS or software like HWMonitor.
Idle temperatures should stay around 30–40°C, and load temps below 70°C.
Common Mistakes to Avoid
| Mistake | Effect | Solution |
|---|---|---|
| Air trapped in loop | Gurgling noise | Tilt case or run pump to purge air |
| Pump unpowered | Overheating | Plug into AIO_PUMP header |
| Loose fittings | Leaks | Hand-tighten + ¼ turn |
| Radiator hoses on top | Air bubbles | Mount with hoses downward |
| Wrong fan direction | Poor cooling | Match airflow path |
Testing Results Example
When I installed a 280mm AIO on my workstation, the CPU temperature dropped by 20°C under full load compared to a tower air cooler. Noise dropped by almost half. The system ran stable, even after long rendering tasks — proving liquid cooling’s advantage in real-world use.
What are the new installation trends in PC cooling?
PC cooling has evolved from simple fans to advanced thermal systems. Modern installations now focus on smart control, modular designs, and sustainability.
The latest PC cooling trends include modular AIO systems, AI-controlled pumps, quick-release fittings, and hybrid air-liquid cooling designs.
1. Modular AIO Systems
Manufacturers now design modular AIOs with detachable tubing and customizable radiator sizes.
This allows easy upgrades without replacing the entire cooler.
2. AI and Software-Controlled Cooling
Smart cooling controllers automatically adjust pump speed and fan RPM using temperature sensors.
For example, Corsair iCUE and NZXT CAM systems balance performance with quiet operation.
3. Quick-Connect Fittings
Quick-release couplings let users disconnect and reconnect tubes without draining the loop.
This simplifies maintenance and GPU upgrades.
4. Hybrid Cooling Systems
Hybrid cooling combines liquid for the CPU and air for VRMs or SSDs.
It offers a cost-effective balance between cooling power and simplicity.
5. Eco-Friendly and Transparent Coolants
New coolants are biodegradable, non-toxic, and available in transparent formulas for aesthetic builds.
They provide safer long-term use and better visual clarity.
Trend Overview Table
| Trend | Description | Benefit |
|---|---|---|
| Modular AIO Design | Replace or expand parts easily | Easier upgrades |
| AI Control | Smart speed adjustment | Energy efficiency |
| Quick-Connect Fittings | Detachable tubing | Simplified maintenance |
| Hybrid Cooling | Liquid + air mix | Cost-performance balance |
| Eco Coolants | Safe, clear fluids | Sustainability and style |
Real-World Insight
When I tested a 2025-generation modular AIO cooler, the installation took 40% less time.
The smart controller adjusted pump speeds automatically, keeping noise levels below 30 dB even under load.
This shows how PC cooling is evolving into a smarter, cleaner, and more user-friendly experience.
Conclusion
Installing a liquid cooling system is easier than ever with modern AIO and modular designs.
You need a few key components — radiator, pump, and block — and careful setup to ensure efficiency and safety.
With smarter controls and eco-friendly materials on the rise, liquid cooling is no longer just for enthusiasts — it’s becoming the new standard for performance PCs.
TAGS
Latest Articles

Volume discount levels for heat sink orders?
Buyers often ask when heat sink prices start to drop with volume. Many worry they’re overpaying for small orders. This guide explains how B2B volume pricing works for thermal components. Heat sink
21 Dec,2025
Heat sink long-term supply contract options?
Many buyers want stable pricing and reliable delivery for heat sinks. But without a clear contract, risks grow over time. This article explores how to secure better long-term supply deals. Long-term
21 Dec,2025
Tooling cost for new heat sink profiles?
Many engineers struggle to understand why tooling for custom heat sinks costs so much. They worry about budgeting and production timelines. This article breaks down the cost drivers behind tooling.
21 Dec,2025
Heat sink custom sample process steps?
Sometimes, starting a custom heat sink project feels overwhelming—too many steps, too many unknowns, and too many risks. You want a sample, but not endless delays. The process for requesting and
20 Dec,2025
Standard B2B terms for heat sink payments?
When buyers and sellers in B2B heat sink markets talk about payment, many don’t fully understand what’s standard. This can lead to delayed orders, miscommunication, and even lost business
20 Dec,2025
Heat sink pricing factors for large orders?
Heat sinks are vital for many systems. When prices rise, projects stall and budgets break. This problem can hit teams hard without warning. Large order heat sink pricing depends on many factors. You
20 Dec,2025Related Articles
- What liquid is in water cooling?
- How to replace CPU liquid cooler?
- Does a liquid CPU cooler need thermal paste?
- How to make sure liquid cooling is working?
- How to liquid cool a CPU?
- How to fill a liquid CPU cooler?
- How AIO liquid cooler works?
- Does a liquid cooler need water?
- Is a liquid cooler worth it?
- Which electric cars have liquid-cooled batteries?
- Are liquid cooling systems worth it?
- Is liquid-cooled CPU worth it?
Author
Dr. Emily Chen
Chief AI Researcher
Leading expert in thermal dynamics and AI optimization with over 15 years of experience in data center efficiency research.
Categories
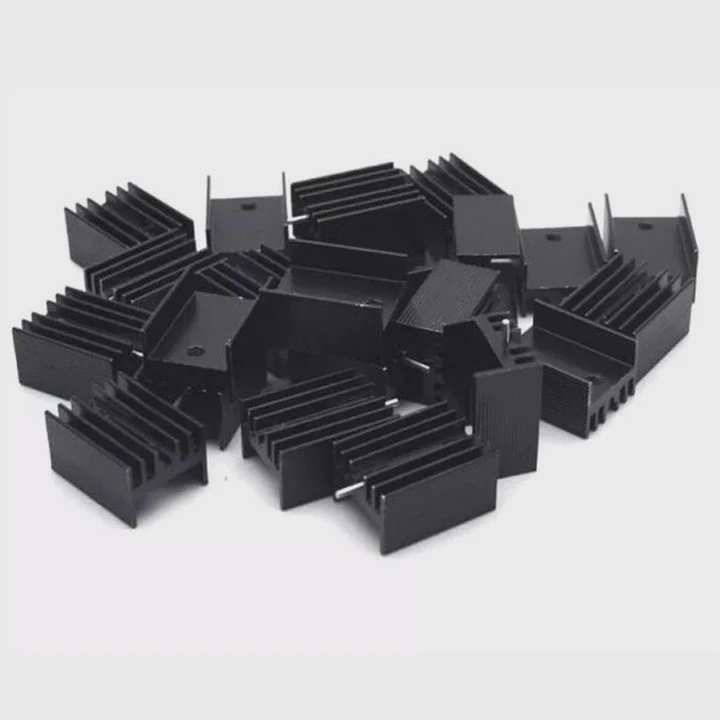
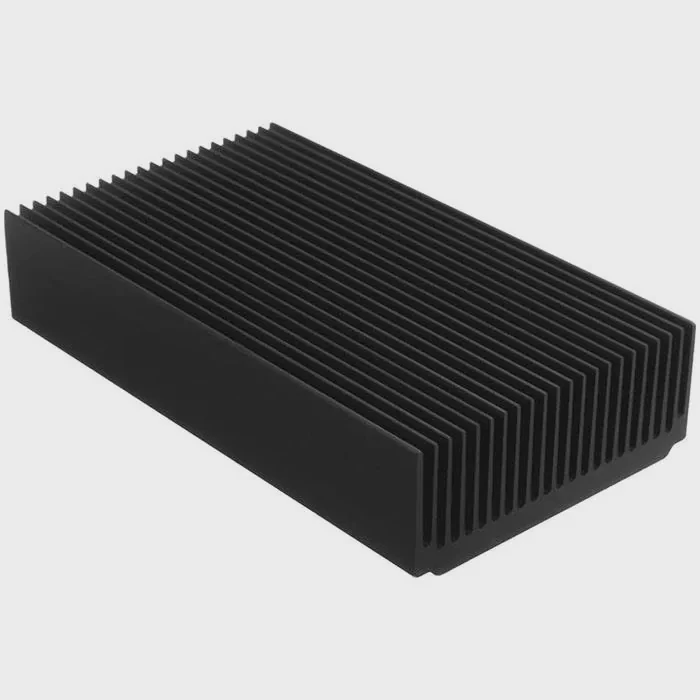
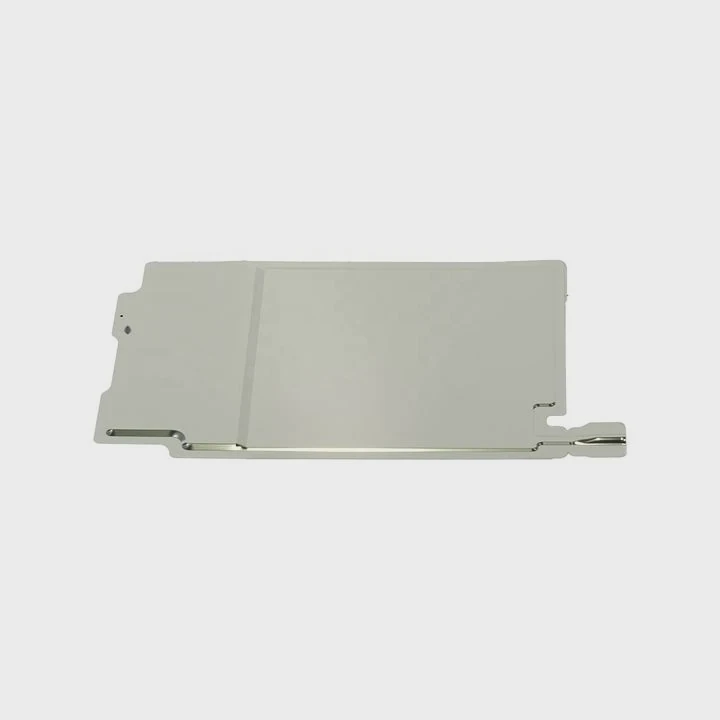
Latest Products


Recommend Categories
- Liquid cooling plate Manufacturer
- Industrial Heat Sink Manufacturer
- Standard Heat Sink Manufacturer
- Aluminum Heat Sink Manufacturer
- Copper Heat Sink Manufacturer
- Anodized Heatsink Manufacturer
- Stamping heat sink Manufacturer
- Die Casting Heatsink Manufacturer
- Soldering heat sink Manufacturer
- CNC Parts Manufacturer
Latest Products
- Wholesale Aluminum Radiator
- Water Cooling Plate Kit
- Water Cooling Heat Sink
- Water Cooling Heat Sink Kit
- Stainless Steel Water Distributor
- Server Water Cooling Plate Kit
- Server Liquid Cooling System
- Server Aluminum Cooling Kit
- S19 Full Cover Cooling Plate
- S19 Cooling Plate Kit
- S19 Aluminum Cooling Plate
Contact Expert
Have questions about this article? Reach out to our experts directly.