How to install GPU liquid cooling?
Many PC enthusiasts want to improve their GPU’s cooling performance but are unsure how to install a liquid cooler. It seems complex, but modern systems have made the process far easier and safer than it used to be.
Installing GPU liquid cooling involves attaching a water block to your graphics card, connecting the pump and radiator, managing coolant flow, and testing the system for leaks before final assembly.
Liquid cooling your GPU delivers lower temperatures, quieter operation, and greater overclocking potential. Once you understand the process, it becomes a straightforward and rewarding upgrade.
What is GPU liquid cooling?
To understand GPU liquid cooling, you must first understand how your GPU generates heat. Graphics cards process millions of operations per second, and that creates significant thermal output.
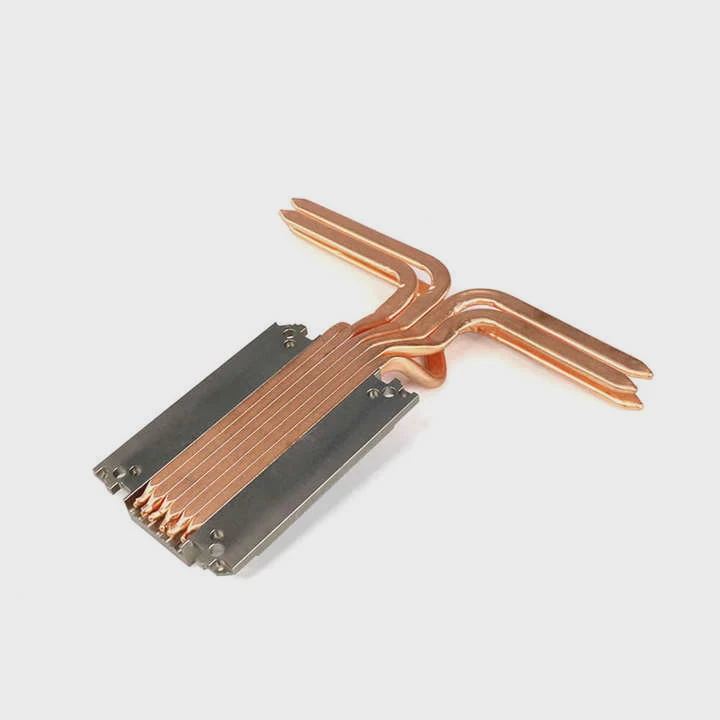
GPU liquid cooling is a system that removes heat from the graphics card using circulating coolant through a water block, radiator, and pump instead of traditional air cooling.
A GPU liquid cooler transfers heat away from the GPU core, memory, and VRMs more effectively than a standard air fan. The system can be either an all-in-one (AIO) kit or a custom loop that integrates CPU and GPU cooling together.
Main Components of a GPU Liquid Cooling System
| Component | Function | Description |
|---|---|---|
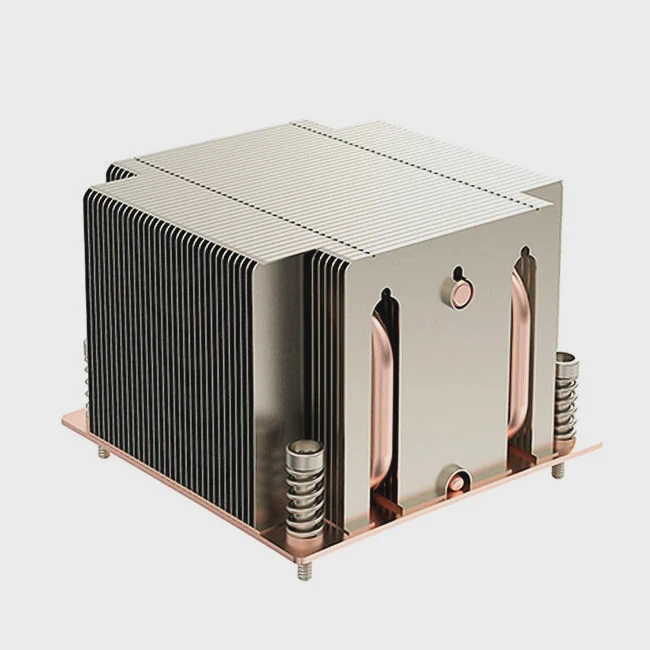
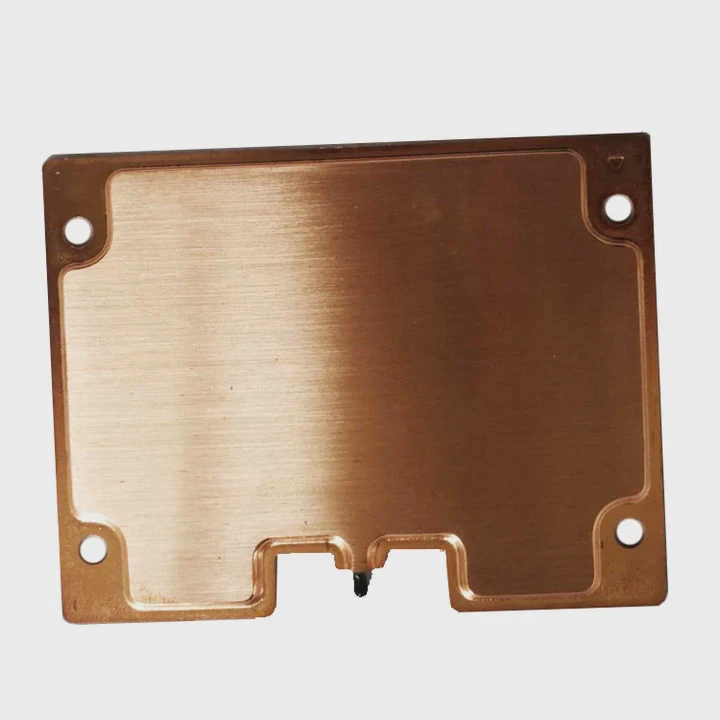
| Water Block | Absorbs heat from GPU and VRMs | Mounted directly on GPU die |
| Pump | Circulates coolant through loop | Usually combined with CPU block or standalone |
| Radiator | Dissipates heat into air | Mounted in case front or top |
| Fans | Push air through radiator fins | Help remove heat from liquid |
| Tubing | Connects loop components | Can be soft or hard tubing |
| Coolant | Transfers heat between parts | Often prefilled and sealed in AIO systems |
Why It Matters
The GPU is often the hottest component in a modern PC. Air cooling alone struggles to keep up with today’s power-hungry GPUs like NVIDIA RTX 4090 or AMD RX 7900 XTX. Liquid cooling delivers far superior thermal control, allowing full performance without overheating or excessive fan noise.
What are its performance benefits?
Liquid cooling provides multiple advantages over traditional air-cooled systems. These benefits go beyond temperature—it also affects noise, performance consistency, and hardware life.
GPU liquid cooling improves performance stability, reduces noise, enables higher overclocking, and extends GPU lifespan by maintaining lower operating temperatures.
Key Benefits of GPU Liquid Cooling
| Benefit | Description |
|---|---|
| Lower Temperatures | Drops GPU core temps by 20–30°C under load |
| Quiet Operation | Fewer fans running at high speed |
| Stable Performance | Prevents thermal throttling during long sessions |
| Overclocking Potential | Supports higher clock speeds safely |
| Better Aesthetics | Clean, professional look with RGB options |
| Longevity | Reduces wear from thermal cycling |
Real-World Example
In my experience building high-performance systems, a liquid-cooled RTX 4090 maintains stable temperatures under 60°C during gaming or rendering, compared to 80°C or higher with air cooling. This leads to quieter performance and longer GPU life.
Additional Benefits
Liquid cooling also cools VRMs and memory chips on the GPU. These components often get ignored in air-cooled setups but can overheat under heavy workloads. By controlling their temperature, the entire system runs more efficiently and reliably.
How to install GPU cooling step-by-step?
Installing GPU liquid cooling may look intimidating, but it’s manageable with patience and proper guidance. Most modern GPU blocks and AIO systems are designed for compatibility and easy assembly.
To install GPU liquid cooling, remove the GPU’s stock cooler, attach the liquid cooling block, connect tubing and radiator, fill and test the loop, then mount everything back securely.
Here’s a simple, step-by-step process:
Step 1: Prepare the Workspace
- Power off your PC and unplug it.
- Discharge static electricity by touching a metal surface.
- Gather tools: screwdrivers, thermal paste, wipes, and your GPU cooling kit.
Step 2: Remove the Stock Cooler
- Unscrew the backplate and heatsink.
- Disconnect the fan and RGB cables.
- Gently detach the cooler to reveal the GPU die.
Step 3: Clean the GPU Surface
Use isopropyl alcohol and a lint-free cloth to remove old thermal paste. The surface must be perfectly clean before mounting the water block.
Step 4: Attach the Thermal Pads and Paste
Follow the manufacturer’s layout for thermal pads on VRMs and memory chips. Apply a small drop of thermal paste to the GPU die.
Step 5: Mount the Water Block
Place the block carefully over the GPU, align screw holes, and tighten evenly. Do not overtighten—this can crack the die or warp the PCB.
Step 6: Connect Tubes and Radiator
If it’s an AIO kit, connect the prefilled tubes to the radiator. For a custom loop, route tubing from the GPU block to the radiator and pump. Secure fittings tightly.
Step 7: Leak Test
Before powering your PC:
- Run the pump using an external PSU jumper.
- Check all fittings for leaks for at least 30 minutes.
- Use paper towels around joints for easy detection.
Step 8: Final Assembly
Once leak testing passes:
- Mount the radiator in your case.
- Connect pump and fan cables to your motherboard or controller.
- Organize cables and close the case.
Step 9: Monitor Performance
Boot your system and monitor temperatures using GPU-Z, MSI Afterburner, or Corsair iCUE. Ensure temperatures remain stable under load.
Pro Tips
- Keep extra coolant handy for refilling custom loops.
- Ensure proper airflow direction in the case.
- Avoid sharp tube bends to maintain flow.
- Regularly check coolant level every few months.
What are the latest GPU cooling trends?
GPU cooling technology continues to evolve rapidly as graphics cards become more powerful and complex. Manufacturers now focus on smarter control, higher efficiency, and aesthetic integration.
The latest GPU cooling trends include hybrid air-liquid coolers, modular blocks, smart sensors, and eco-friendly coolants designed for easier installation and longer system life.
Emerging GPU Cooling Trends
| Trend | Description | Advantage |
|---|---|---|
| Hybrid Cooling Systems | Combines air and liquid cooling | Balances cost, simplicity, and performance |
| Modular GPU Blocks | Detachable components for easy upgrades | Simplifies maintenance and compatibility |
| Smart Pump Control | Automatically adjusts flow rate | Reduces noise and power use |
| AI-Based Thermal Management | Learns usage patterns to optimize cooling | Ensures stability and efficiency |
| Eco-Friendly Coolants | Non-toxic and biodegradable fluids | Improves safety and sustainability |
| RGB Integration | Full lighting sync with system | Adds visual appeal |
Why These Trends Matter
Hybrid and modular systems are revolutionizing GPU cooling. They combine the best of both worlds—air and liquid—to deliver efficient performance without the need for full custom loops. AI-driven cooling systems can dynamically control fan speed, pump pressure, and flow rate based on real-time thermal data.
Toward the Future
In the coming years, we will likely see fully self-contained GPU cooling systems that integrate sensors, wireless monitoring, and smart control software. These systems will automatically adapt to workload, temperature, and even environmental factors.
Manufacturers are also working on low-viscosity coolants and metallic microchannels that enhance heat transfer efficiency. Combined with sustainable, leak-proof designs, the next generation of GPU coolers will be smarter, safer, and more energy-efficient.
Conclusion
Installing GPU liquid cooling may seem advanced, but modern systems make it simple. With better performance, lower noise, and advanced design trends, liquid cooling transforms how GPUs perform under pressure.
TAGS
Latest Articles

Volume discount levels for heat sink orders?
Buyers often ask when heat sink prices start to drop with volume. Many worry they’re overpaying for small orders. This guide explains how B2B volume pricing works for thermal components. Heat sink
21 Dec,2025
Heat sink long-term supply contract options?
Many buyers want stable pricing and reliable delivery for heat sinks. But without a clear contract, risks grow over time. This article explores how to secure better long-term supply deals. Long-term
21 Dec,2025
Tooling cost for new heat sink profiles?
Many engineers struggle to understand why tooling for custom heat sinks costs so much. They worry about budgeting and production timelines. This article breaks down the cost drivers behind tooling.
21 Dec,2025
Heat sink custom sample process steps?
Sometimes, starting a custom heat sink project feels overwhelming—too many steps, too many unknowns, and too many risks. You want a sample, but not endless delays. The process for requesting and
20 Dec,2025
Standard B2B terms for heat sink payments?
When buyers and sellers in B2B heat sink markets talk about payment, many don’t fully understand what’s standard. This can lead to delayed orders, miscommunication, and even lost business
20 Dec,2025
Heat sink pricing factors for large orders?
Heat sinks are vital for many systems. When prices rise, projects stall and budgets break. This problem can hit teams hard without warning. Large order heat sink pricing depends on many factors. You
20 Dec,2025Related Articles
- What does liquid cooled mean?
- How does the liquid cooling system work?
- What is liquid immersion cooling?
- What happens when you cool a liquid?
- What should my CPU temp be with liquid cooling?
- Is the Milwaukee 8 liquid cooled?
- How does CPU liquid cooling work?
- Which PowerEdge server supports direct liquid cooling?
- Does Ryzen 9 5950X need liquid cooling?
- Is liquid cooling hard to install?
- Does Ryzen 7 7700X Need Liquid Cooling?
- Is liquid cooling quiet?
Author
Dr. Emily Chen
Chief AI Researcher
Leading expert in thermal dynamics and AI optimization with over 15 years of experience in data center efficiency research.
Categories
Latest Products


Recommend Categories
- Liquid cooling plate Manufacturer
- Industrial Heat Sink Manufacturer
- Standard Heat Sink Manufacturer
- Aluminum Heat Sink Manufacturer
- Copper Heat Sink Manufacturer
- Anodized Heatsink Manufacturer
- Stamping heat sink Manufacturer
- Die Casting Heatsink Manufacturer
- Soldering heat sink Manufacturer
- CNC Parts Manufacturer
Latest Products
- Wholesale Aluminum Radiator
- Water Cooling Plate Kit
- Water Cooling Heat Sink
- Water Cooling Heat Sink Kit
- Stainless Steel Water Distributor
- Server Water Cooling Plate Kit
- Server Liquid Cooling System
- Server Aluminum Cooling Kit
- S19 Full Cover Cooling Plate
- S19 Cooling Plate Kit
- S19 Aluminum Cooling Plate
Contact Expert
Have questions about this article? Reach out to our experts directly.