how to remove a processor and heatsink from motherboard?
I remember the first time I removed a CPU and heatsink from a motherboard. My hands shook because I feared bending pins, cracking chips, or pulling the cooler too hard. After many builds, I learned that the process becomes simple when you follow a few safe steps.
You remove a processor and heatsink by cutting power, freeing the heatsink from dried paste, opening the CPU socket latch, and lifting the processor straight up. Each step protects the board and the chip.
I want to share the simple ideas that helped me remove CPUs safely with confidence.
Why unplug power before removal?
The first time I worked inside a system without unplugging the power supply, I felt a soft jolt when I touched the board. It scared me. That moment taught me why power removal must always be the first step.
You unplug power before removal because electricity can still move through the board even when the system is off. Cutting power protects components from short circuits, static, and accidental startup.
Why the system is not fully off when the switch is “off”
Many power supplies keep a standby circuit active. This small circuit powers motherboard LEDs, USB ports, and internal sensors. Even if the system looks off, parts still carry current.
Why unplugging power protects the CPU
When you remove a heatsink, you may press or twist the motherboard slightly. If power is present, sudden contact can create tiny shorts. These shorts can harm the CPU or VRMs. Once I learned this, I never skipped unplugging again.
A simple power-safety table
| Action | Safe? | Reason |
|---|---|---|
| System on | No | High risk |
| System off but plugged in | No | Standby power present |
| PSU switched off | Better | Some power still stored |
| Plug removed | Best | Full isolation |
Why you should press the power button after unplugging
After unplugging, I always press the power button once. This drains leftover energy from capacitors. It leaves the board quiet and safe.
Why touching metal helps reduce static
Before touching the CPU or cooler, I touch a metal case panel. This releases static from my hands. Static can damage tiny CPU pins. This simple habit protects me from surprises.
Why power removal makes the whole job calmer
Once the system is fully off, I worry less. I know no electricity is moving. I can focus on slow and steady work instead of rushing from fear.
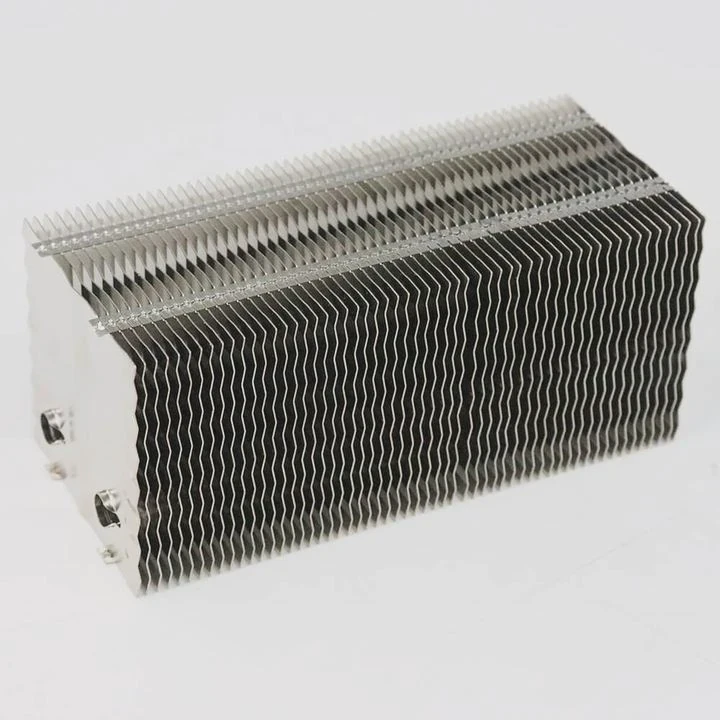
How does dried paste resist separation?
When I removed my first cooler, I expected it to lift gently. Instead, it stuck like glue. I thought I missed a screw. Later I learned that dried thermal paste can hold the heatsink very tightly.
Dried paste resists separation because it hardens over time and forms a tight bond between the CPU and cooler. This bond feels like glue, and pulling too fast can lift the CPU from the socket.
Why thermal paste becomes sticky
Fresh paste is soft. After long use, heat dries it. It becomes thick and gummy. This sticky layer clings to both surfaces. When both surfaces meet tightly, the paste acts like strong adhesive.
Why strong bonds are common on older systems
Old systems run hot for many years. Heat cycles make paste dry faster. The cooler becomes harder to remove. I often see this when servicing older CPUs or budget coolers.
How dried paste affects removal
When dried paste grips the cooler, lifting straight up becomes risky. The CPU may come out while still locked in its socket. This can bend or tear pins on older CPUs or damage the pads on newer ones.
A table describing paste conditions
| Paste Condition | Grip Strength | Effect |
|---|---|---|
| Fresh paste | Low | Cooler lifts easily |
| Semi-dry paste | Medium | Requires gentle wiggle |
| Fully dry paste | High | Strong bond, risky lift |
Why gentle movement breaks the bond
When I wiggle the heatsink side to side, the paste cracks slowly. This frees the cooler without forcing the CPU upward. I learned this after my first mistake, when I pulled too hard and the CPU popped out with the cooler.
Why you should never twist too hard
A small wiggle is safe. A strong twist can crack the CPU substrate or disturb surface-mounted parts. I stay patient and let the dried paste break slowly.
Why heating the cooler helps sometimes
On some tough removals, I run the system for a few minutes before shutting down and unplugging. The heat softens the paste. This makes removal easier. But I only do this when the system is safe to power on.
Which latch should be opened first?
When I started building PCs, I was unsure which latch to open first. I saw levers, brackets, plates, and covers. Each socket type looked different. But all of them share one idea: the latch must open before touching the CPU.
You should open the socket latch before touching the processor. The latch holds the CPU firmly, and opening it frees the chip so you can lift it without bending pins or forcing it.
Why CPU sockets use latches
Sockets must hold the processor tightly. This ensures strong contact with the motherboard pins or pads. The latch applies pressure evenly. Without the latch, the CPU could shift or lose contact.
Common latch types
1. Intel LGA lever
This lever locks a metal plate over the CPU. You must lift the lever first.
2. AMD AM4 lever
This lever clamps pins into place. Lifting it releases the CPU.
3. Notebook ZIF levers
Small screws or tabs release the CPU gently.
A latch overview table
| CPU Type | Latch Style | Action |
|---|---|---|
| Intel desktop | Metal plate + lever | Lift the lever to unlock |
| AMD desktop | Pin grid + lever | Lift lever to release pins |
| Laptop CPUs | ZIF screw | Rotate screw to unlock |
Why latch removal must come before CPU lifting
If you try to lift the CPU before releasing the latch, the CPU will resist. You may bend pins or scratch pads. I made this mistake once on an old AMD CPU, and the pins bent slightly. That small error taught me to always find the latch first.
Why you should check all sides before lifting
Some sockets hide the latch under a cover. I always look around the socket before moving anything. When I know where the latch sits, the job becomes easy and calm.
Why latch pressure releases slowly
When I lift the lever, I feel the pressure drop slowly. This is normal. The latch frees the CPU evenly to avoid sudden movement.
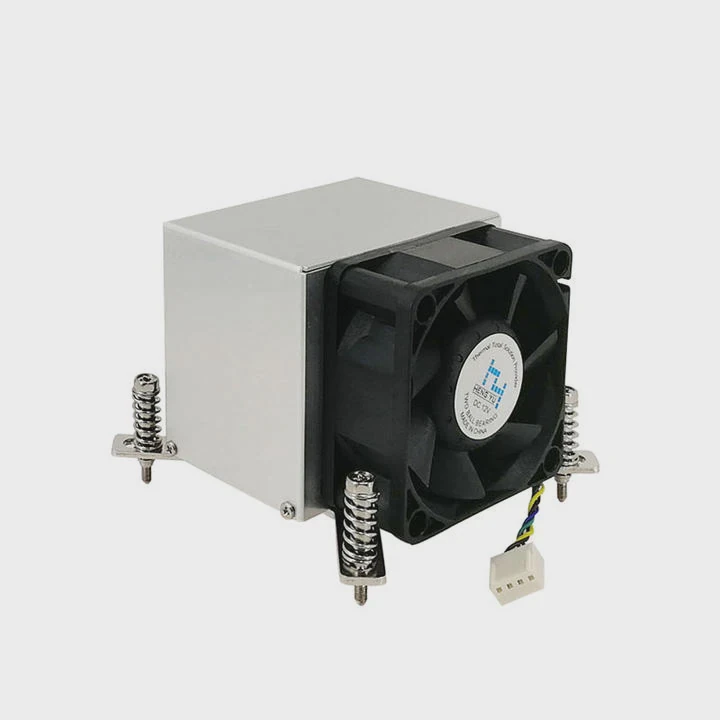
Should CPU be lifted vertically?
After I damaged a pin once by lifting the CPU at an angle, I learned the value of vertical lifting. A CPU sits in the socket in a very tight fit. Even tiny movement matters.
Yes, the CPU must be lifted vertically. Vertical lifting prevents the chip from scraping the socket edges or bending delicate pins. This keeps the pins or pads safe and the socket clean.
Why vertical movement protects pins
On AMD CPUs, pins stand straight up. If you lift at an angle, the pins drag along the socket wall. Even a small drag can bend them. Bent pins cause boot failures and memory errors.
Why Intel sockets also need vertical lifting
Intel CPUs have flat pads. The pins sit inside the motherboard instead. If you lift at an angle, you may scratch the pads or hit the socket pins. Socket pins are fragile and very hard to repair.
How I lift the CPU safely
Step 1: Open the latch fully
The CPU must be completely free.
Step 2: Place two fingers on the edges
I avoid touching the top or bottom surface.
Step 3: Lift straight up slowly
No angle. No tilt. No twist.
Step 4: Move to a safe surface
I place the CPU on anti-static foam or a clean tray.
A lifting comparison table
| Lifting Style | Safe? | Result |
|---|---|---|
| Vertical lift | Yes | Clean removal |
| Slight angle | No | Pin drag |
| Large angle | No | High risk of bend |
| Twisting | No | Scratching or bending |
Why touching the edges helps
Edges are safe to hold because no pins exist there. Touching the pads or top can transfer oils or static. Edges keep the chip clean.
Why you should avoid sudden movements
A fast lift can make the CPU jump out of your fingers. If it hits the desk, pins bend. I lift slowly so I can keep full control.
Why vertical lifting builds good habits
Once you build this habit, every removal becomes simple. The risk drops to almost zero. It also helps when installing the CPU later.
Conclusion
You can remove a processor and heatsink safely by cutting power, breaking the dried paste bond slowly, opening the socket latch, and lifting the CPU vertically. These steps protect the board, the chip, and the pins during the whole process.
TAGS
Latest Articles

Volume discount levels for heat sink orders?
Buyers often ask when heat sink prices start to drop with volume. Many worry they’re overpaying for small orders. This guide explains how B2B volume pricing works for thermal components. Heat sink
21 Dec,2025
Heat sink long-term supply contract options?
Many buyers want stable pricing and reliable delivery for heat sinks. But without a clear contract, risks grow over time. This article explores how to secure better long-term supply deals. Long-term
21 Dec,2025
Tooling cost for new heat sink profiles?
Many engineers struggle to understand why tooling for custom heat sinks costs so much. They worry about budgeting and production timelines. This article breaks down the cost drivers behind tooling.
21 Dec,2025
Heat sink custom sample process steps?
Sometimes, starting a custom heat sink project feels overwhelming—too many steps, too many unknowns, and too many risks. You want a sample, but not endless delays. The process for requesting and
20 Dec,2025
Standard B2B terms for heat sink payments?
When buyers and sellers in B2B heat sink markets talk about payment, many don’t fully understand what’s standard. This can lead to delayed orders, miscommunication, and even lost business
20 Dec,2025
Heat sink pricing factors for large orders?
Heat sinks are vital for many systems. When prices rise, projects stall and budgets break. This problem can hit teams hard without warning. Large order heat sink pricing depends on many factors. You
20 Dec,2025Related Articles
- should you replace stock heatsink?
- How to reapply Intel heatsink Ivy Bridge?
- Does LED strip need heatsink?
- how long does heatsinks last on gaming pcs?
- how to make a heatsink more efficient?
- what a good heatsink and cpu fan?
- do you need to put thermal past when changing heatsinks?
- how to install chipset heatsink?
- what heatsinks fit evga z390 dark?
- does the ssd need a heatsink?
- do you need a heatsink for m 2?
- can a cpu run without a heatsink?
Author
Dr. Emily Chen
Chief AI Researcher
Leading expert in thermal dynamics and AI optimization with over 15 years of experience in data center efficiency research.
Categories
Latest Products
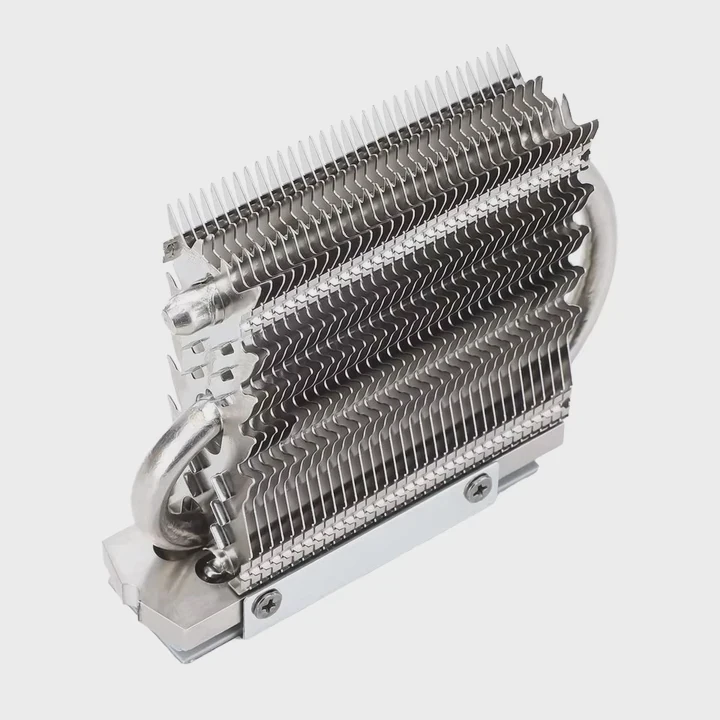
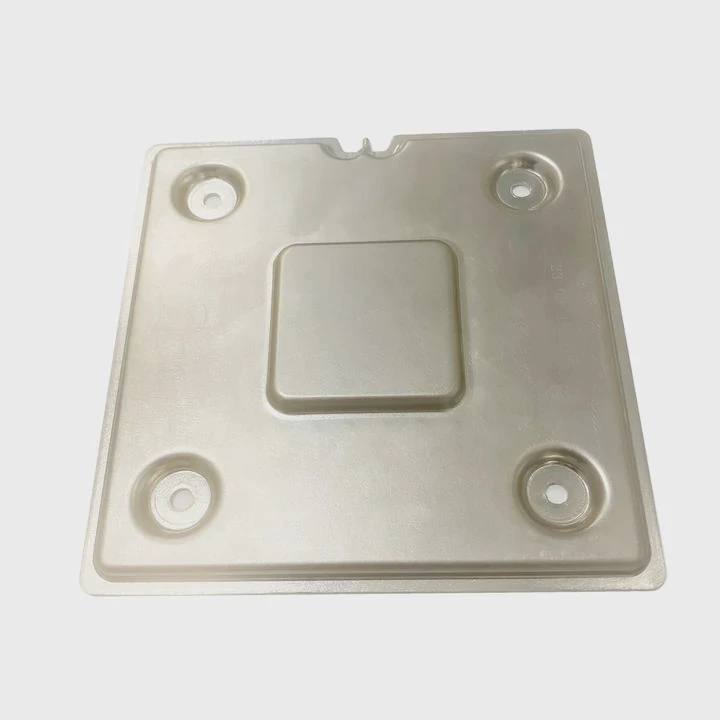
M.2 Heatpipe Heatsink With Dual Fans For Pc Case
19 Mar,2026
Heavy-Duty Aluminum Heat Sink Custom
19 Mar,2026
Oem Skived Fin Heatsink Aluminum Radiator For Plants
19 Mar,2026

Water Cooled Cnc Aluminum Heat Sink For Medical
19 Mar,2026
High Density 6000 Series Aluminum Heat Sink Profile
19 Mar,2026
High-Density Extruded Aluminum & Bonded-Fin Heat Sink Profile
19 Mar,2026
Recommend Categories
- Liquid cooling plate Manufacturer
- Industrial Heat Sink Manufacturer
- Standard Heat Sink Manufacturer
- Aluminum Heat Sink Manufacturer
- Copper Heat Sink Manufacturer
- Anodized Heatsink Manufacturer
- Stamping heat sink Manufacturer
- Die Casting Heatsink Manufacturer
- Soldering heat sink Manufacturer
- CNC Parts Manufacturer
Latest Products
- M.2 Heatpipe Heatsink With Dual Fans For Pc Case
- Heavy-Duty Aluminum Heat Sink Custom
- Oem Skived Fin Heatsink Aluminum Radiator For Plants
- Water Cooled Cnc Aluminum Heat Sink For Medical
- High Density 6000 Series Aluminum Heat Sink Profile
- High-Density Extruded Aluminum & Bonded-Fin Heat Sink Profile
- Dongguan Cnc Aluminum Heat Sink For Led & Brass Parts
- Wholesale Cnc Aluminum Heat Sink - Custom Extruded
- Led Cnc Round Heat Sink With Screw Holes
- Copper Pin-Fin Heat-Sink Large-Area For Photoled Cooling
- Telecom Heatsink Zipper Fin Wcopper Tubes Oem
Contact Expert
Have questions about this article? Reach out to our experts directly.