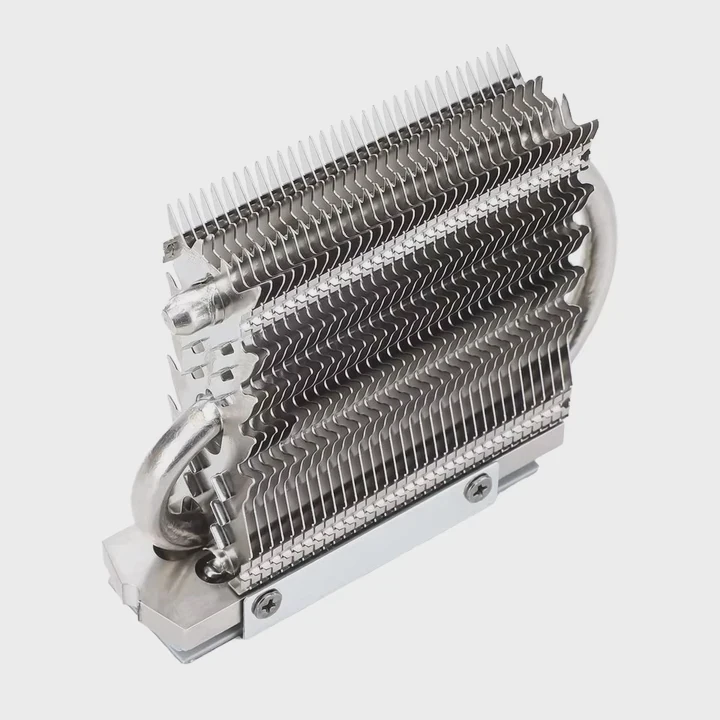
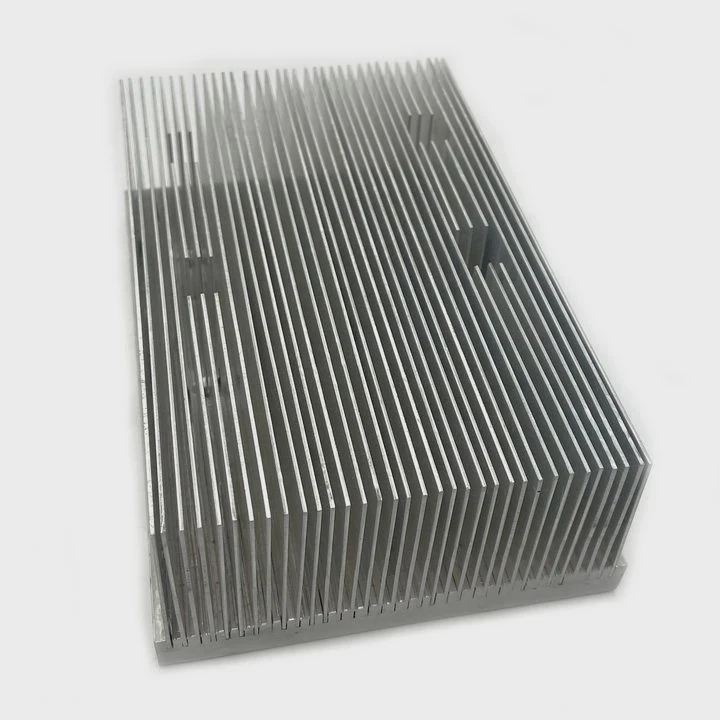
Is it hard to install a heatsink to a CPU?
Many people feel stressed when they add a heatsink to a CPU. The tiny parts look confusing. The fear of doing damage grows fast.
It is not hard to install a heatsink when the steps stay clear, the parts line up well, and the pressure stays even. A calm setup, slow moves, and the right guide help the process stay simple and safe.
This question matters to many users. A good installation keeps the system cool. A bad one creates heat issues. So I walk through each part and explain what to notice.
Why alignment is important?
Many users feel worried when the heatsink floats above the CPU. They fear it will not sit flat. Poor alignment causes heat problems fast.
Alignment is important because the heatsink must sit flat on the CPU lid, so the surface contact stays full and the heat moves out fast. Misalignment creates air gaps and weak cooling performance.
When I look at the alignment question, I see how many new users rush. They place the heatsink at an angle. They panic when the paste spreads unevenly. This fear makes sense. The contact area is the most sensitive part of the installation. A small tilt can raise temperatures by many degrees. So I break down the idea in simple parts.
What alignment affects
Good alignment touches three main points:
| Item | Why it matters |
|---|---|
| Surface contact | Full contact moves heat away fast |
| Paste spread | A flat press spreads paste evenly |
| Mount stability | Straight alignment keeps long-term stability |
How users can keep alignment stable
Many users benefit from slow movements. A straight overhead placement helps the heatsink land flat. I often guide users to hold the cooler with two hands. Each hand keeps one side level. Many coolers include ridges or pins that show where the bracket should land. These simple signs help more than people expect.
Why alignment errors cause trouble
A tilted heatsink traps pockets of air. Air slows heat transfer. The CPU then heats up during light use. This brings throttling or shut-downs. Some users think their chip is faulty, but the real issue sits between the cooler and the chip. When the cooler sits flat, these problems drop away.
Small checks that prevent mistakes
I like to check the edges. Each corner should sit at the same height. A small flashlight helps. Many people forget that the screws also guide alignment. Tighten each screw by two or three turns only, then move to the next. This keeps the pressure equal and alignment straight.
Which mounting steps matter most?
Many users look at all the steps and feel lost. They want to know which steps they must not skip.
The steps that matter most include cleaning the surface, adding the right amount of paste, placing the cooler straight, and tightening screws in turns. These steps protect the surface and keep heat transfer strong.
When people ask about the most important steps, I feel their concern. The installation guide looks long. But only a few steps shape the final performance. These steps shape how the CPU stays cool during real use.
The steps in order
Here is a short list that shows the core steps:
| Step | Main goal |
|---|---|
| Clean the CPU lid | Remove dust and old paste |
| Add small dot of paste | Fill micro gaps on the surface |
| Place cooler straight | Avoid trapped air |
| Tighten in cross pattern | Keep pressure even |
Why cleaning matters
Dust and old paste block good contact. Some users reuse old paste and wonder why heat rises. A clean surface helps the new paste settle thin. A thin layer moves heat fast.
Why the paste amount matters
A small pea-sized dot works well for most CPUs. A large blob makes a mess. A tiny dot creates bare spots. The goal is to spread a thin film under pressure. The heatsink does this job when it sits flat.
Why the screw pattern shapes cooling
A cross pattern keeps pressure balanced. One corner should not sink deeper than the others. Many mounting issues come from fast tightening of a single screw. When all screws gain tightness slowly, the cooler sits stable and secure.
The value of patience
Most mounting errors come from rushing. A calm pace stops misalignment, paste overflow, and uneven pressure. These small habits keep the cooler safe and effective.
Can pressure damage CPU?
Many users fear that strong pressure will crack the CPU. They hold the cooler above the chip and worry about the force needed to mount it.
Pressure can damage a CPU only when the force is extreme or uneven. Normal heatsink mounts stay safe because they limit the force, spread load evenly, and use a firm but controlled clamping system.
This fear is understandable. The CPU looks fragile. The small metal lid hides the delicate parts inside. Yet modern CPUs use metal caps that handle normal mounting pressure. The danger comes only when the pressure shifts to one side.
How pressure works during mounting
Pressure spreads across the full metal lid. This spreads the force and protects the surface. Heatsink brackets also limit the force. This is why many cooler screws stop at a firm point. They do not let users crush the chip by accident.
When pressure becomes risky
Pressure becomes unsafe when the cooler sits crooked. A crooked mount loads one edge. The lid may tilt. A pin-style socket, like older designs, is more sensitive. Newer sockets use stronger frames.
How users can avoid pressure damage
There are three steps that keep the chip safe:
- Place the cooler flat before tightening.
- Turn each screw by a small amount.
- Stop when resistance feels steady.
These steps keep the chip safe during the whole process.
Why proper pressure matters
Strong but controlled pressure creates a thin paste layer. This improves cooling. Weak pressure leaves the cooler loose. The CPU then heats up fast. So users want good pressure, but not too much pressure. The bracket design helps find this balance.
Signs of correct pressure
I check for these signs:
- The cooler does not move when pressed lightly.
- The screws stop turning at a clear point.
- The system shows stable temperatures during use.
If these signs show up, the pressure sits within a safe range.
Do guides simplify installation?
People often jump into cooler installation without reading any guide. Stress builds fast. A simple guide can reduce mistakes more than users expect.
A clear guide simplifies installation because it breaks the task into small steps, shows the correct order, reduces stress, and prevents common mistakes that cause bad cooling or damage.

I have seen many users who avoid reading guides. They believe intuition is enough. But cooling systems differ. Some coolers use clips. Some use long screws. Some need brackets under the motherboard. Guides help users handle these differences.
Why guides reduce confusion
Guides create a clean path. They show which screws belong to which mount. They show the direction of the bracket. A good guide also explains the order of steps. This means users stop guessing. Guessing leads to mistakes.
How guides improve confidence
Users feel more calm when they follow a simple checklist. This calm mindset prevents rushed moves. Many problems do not come from skill. They come from tension. When people feel calm, their hands move steady.
What a clear guide includes
Good guides include:
- A clean list of needed parts
- A clear diagram of bracket orientation
- A simple method to add paste
- A clear screw sequence
Some guides even include photos. These photos help match the parts with the real setup. When users see the correct shape, confusion falls away.
How guides help new and experienced users
New users gain structure. Experienced users gain reminders. Even skilled builders forget small details sometimes. A guide prevents these mistakes.
Why many users still avoid guides
Some people feel guides are too long. Others feel guides look technical. This is why short, clear guides matter. When the instructions stay simple, more users read them.
How a guide shapes long-term system health
A good installation prevents heat build-up, throttle, and noise. Fans run slower. Parts last longer. Guides play a role in this long-term health. A guide is not only for beginners. It protects the hardware for its whole life.
Conclusion
A heatsink is not hard to install when the steps stay simple. A clear guide, steady alignment, even pressure, and clean surfaces protect the CPU and improve cooling. These habits help users build a stable system.
TAGS
Latest Articles

Volume discount levels for heat sink orders?
Buyers often ask when heat sink prices start to drop with volume. Many worry they’re overpaying for small orders. This guide explains how B2B volume pricing works for thermal components. Heat sink
21 Dec,2025
Heat sink long-term supply contract options?
Many buyers want stable pricing and reliable delivery for heat sinks. But without a clear contract, risks grow over time. This article explores how to secure better long-term supply deals. Long-term
21 Dec,2025
Tooling cost for new heat sink profiles?
Many engineers struggle to understand why tooling for custom heat sinks costs so much. They worry about budgeting and production timelines. This article breaks down the cost drivers behind tooling.
21 Dec,2025
Heat sink custom sample process steps?
Sometimes, starting a custom heat sink project feels overwhelming—too many steps, too many unknowns, and too many risks. You want a sample, but not endless delays. The process for requesting and
20 Dec,2025
Standard B2B terms for heat sink payments?
When buyers and sellers in B2B heat sink markets talk about payment, many don’t fully understand what’s standard. This can lead to delayed orders, miscommunication, and even lost business
20 Dec,2025
Heat sink pricing factors for large orders?
Heat sinks are vital for many systems. When prices rise, projects stall and budgets break. This problem can hit teams hard without warning. Large order heat sink pricing depends on many factors. You
20 Dec,2025Related Articles
- is paste on new heatsink enough?
- does a heatsink need to be plugged in?
- how to remove xbox one heatsink?
- do you need a ssd heatsink if motherboard has one?
- how to remove gpu heatsink screws?
- what type of heatsink does asus use laptop?
- How to get legendary heatsinks?
- Are gigabyte m.2 heatsinks good?
- do you have to reapply thermal paste after removing heatsink?
- Can you run a computer without a heatsink CPU fan?
- Does air blow through heatsink?
- Are stock GPU heatsinks suitable?
Author
Dr. Emily Chen
Chief AI Researcher
Leading expert in thermal dynamics and AI optimization with over 15 years of experience in data center efficiency research.
Categories
Latest Products
M.2 Heatpipe Heatsink With Dual Fans For Pc Case
19 Mar,2026
Heavy-Duty Aluminum Heat Sink Custom
19 Mar,2026
Oem Skived Fin Heatsink Aluminum Radiator For Plants
19 Mar,2026

Water Cooled Cnc Aluminum Heat Sink For Medical
19 Mar,2026
High Density 6000 Series Aluminum Heat Sink Profile
19 Mar,2026
High-Density Extruded Aluminum & Bonded-Fin Heat Sink Profile
19 Mar,2026
Recommend Categories
- Liquid cooling plate Manufacturer
- Industrial Heat Sink Manufacturer
- Standard Heat Sink Manufacturer
- Aluminum Heat Sink Manufacturer
- Copper Heat Sink Manufacturer
- Anodized Heatsink Manufacturer
- Stamping heat sink Manufacturer
- Die Casting Heatsink Manufacturer
- Soldering heat sink Manufacturer
- CNC Parts Manufacturer
Latest Products
- M.2 Heatpipe Heatsink With Dual Fans For Pc Case
- Heavy-Duty Aluminum Heat Sink Custom
- Oem Skived Fin Heatsink Aluminum Radiator For Plants
- Water Cooled Cnc Aluminum Heat Sink For Medical
- High Density 6000 Series Aluminum Heat Sink Profile
- High-Density Extruded Aluminum & Bonded-Fin Heat Sink Profile
- Dongguan Cnc Aluminum Heat Sink For Led & Brass Parts
- Wholesale Cnc Aluminum Heat Sink - Custom Extruded
- Led Cnc Round Heat Sink With Screw Holes
- Copper Pin-Fin Heat-Sink Large-Area For Photoled Cooling
- Telecom Heatsink Zipper Fin Wcopper Tubes Oem
Contact Expert
Have questions about this article? Reach out to our experts directly.