Where to plug in a liquid cooling pump?
When I first installed my liquid cooling system, the biggest question I had was simple yet crucial—where should the pump be plugged in? I didn’t want to damage the pump or risk running it at the wrong speed. It turned out that connecting the pump correctly is the key to stable cooling performance and long-term reliability.
The liquid cooling pump should be plugged into the dedicated “PUMP” or “AIO_PUMP” header on the motherboard to ensure continuous power and proper speed control.
Using the right header guarantees that your pump runs safely at the correct voltage, keeping your system cool and your components protected.
What is the function of a cooling pump?
Many people think the radiator or fans do all the cooling work, but without the pump, nothing moves. The pump is the heart of any liquid cooling system—it keeps the coolant circulating and ensures even temperature distribution.
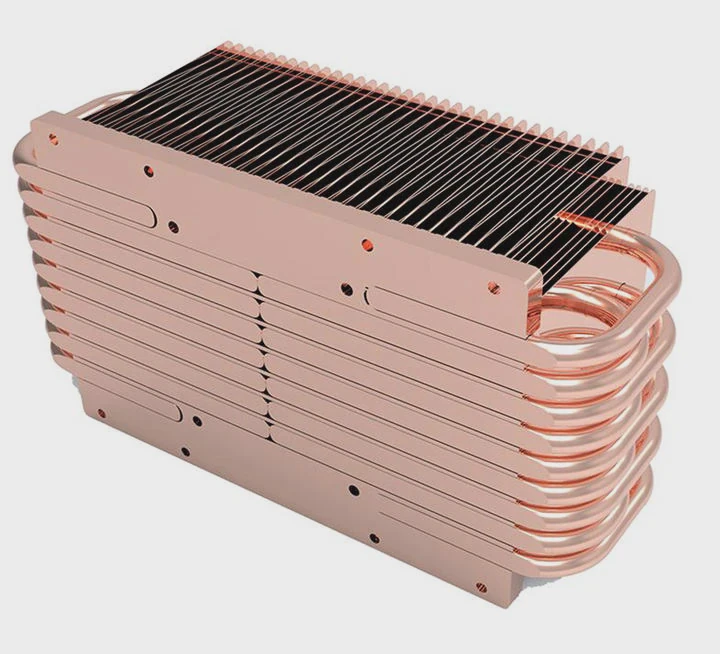
The function of a cooling pump is to circulate coolant through the loop, transferring heat away from the CPU or GPU to the radiator, where it is dissipated into the air.
How the pump works
The pump creates pressure that pushes the coolant through tubes, blocks, and radiators. As the coolant absorbs heat from the processor block, it becomes warmer. The pump then drives it to the radiator, where fans help cool it down before it returns to the water block.
| Pump Component | Function | Material / Design |
|---|---|---|
| Impeller | Moves coolant through centrifugal force | Plastic or metal blades |
| Housing | Holds the impeller and seals coolant | Polymer or metal casing |
| Motor | Powers the impeller’s rotation | DC or PWM-controlled |
| Bearings | Reduce friction and wear | Ceramic or magnetic |
Types of cooling pumps
There are two main types:
- AIO Pumps – Integrated into all-in-one (AIO) coolers, these are pre-configured, sealed, and powered via motherboard headers.
- Custom Loop Pumps – Separate components used in advanced setups, offering more power and customization options.
No matter which type you use, the connection point on the motherboard must supply enough and stable power.
Why the pump is essential
Without a working pump, coolant stagnates and can’t transport heat effectively. The CPU or GPU would overheat in seconds. That’s why ensuring continuous pump operation is more important than fan speed or RGB lighting—it directly affects system safety.
Why correct connection is important?
When I helped a friend troubleshoot his custom water-cooled PC, we discovered that his pump wasn’t running. He had accidentally connected it to a case fan header, which didn’t provide constant voltage. The result? His CPU temperature jumped over 95°C in less than a minute.
Connecting the pump correctly ensures it receives stable power, maintains consistent flow rate, prevents overheating, and avoids long-term component damage.
1. Stable voltage and speed
Pumps require a steady 12V power supply to operate correctly. Plugging the pump into the correct header prevents voltage fluctuation, which could cause flow rate drops or mechanical stress.
| Header Type | Voltage Control | Recommended Use |
|---|---|---|
| CPU_FAN | PWM / DC | Fans only |
| CHA_FAN | PWM / DC | Case fans |
| AIO_PUMP | Constant 12V (or PWM) | AIO and water pumps |
| W_PUMP+ | Full power or speed control | High-performance pumps |
2. Continuous operation
While fans can stop temporarily without harm, pumps must run continuously whenever the system is powered. A short interruption could cause the coolant to overheat, risking both pump and processor.
3. Accurate speed monitoring
Motherboard headers designed for pumps include tachometer pins that monitor RPM (revolutions per minute). This allows software like BIOS, iCUE, or Armoury Crate to track performance and alert you if the pump fails.
4. Longer lifespan
Running the pump at a stable, controlled speed reduces mechanical wear and prevents cavitation (when bubbles form inside the pump), which can damage the impeller.
5. System safety
Overheating from pump failure can cause the CPU to throttle or shut down suddenly. A correct connection ensures that any issue triggers a warning before critical damage occurs.
How to plug in the pump properly?
Installing the pump is not difficult, but doing it carefully makes all the difference between a smooth system and potential overheating. I’ve installed dozens of AIO and custom pumps, and the steps are always similar.
To plug in a liquid cooling pump properly, connect its power cable to the AIO_PUMP or W_PUMP+ header on the motherboard, secure it with correct orientation, and configure BIOS settings to ensure constant operation.
Step 1: Identify the correct header
Locate the AIO_PUMP, W_PUMP+, or PUMP_FAN header on your motherboard. These are usually near the CPU socket and clearly labeled. Consult your motherboard manual if unsure.
Step 2: Check the connector type
Most pumps use either:
- 3-pin DC connectors (power and speed monitoring)
- 4-pin PWM connectors (power, speed control, and monitoring)
Plug the connector into the matching header carefully without forcing it.
Step 3: Secure the power connection
Ensure the connector clicks firmly into place. Loose connections can cause intermittent power loss or inaccurate speed readings.
Step 4: Connect the USB or SATA power (if applicable)
Some pumps—especially on AIO systems—draw power directly from the power supply via SATA connectors. In that case, connect the SATA cable to your PSU and use the motherboard header only for monitoring.
Step 5: Adjust BIOS settings
Once the pump is connected:
- Power on your PC and enter the BIOS/UEFI.
- Navigate to the Fan Control or Monitoring section.
- Locate the AIO_PUMP header and set it to Full Speed (100%) or PWM Mode if your pump supports speed control.
- Save and exit.
| Pump Type | Recommended Header | BIOS Setting |
|---|---|---|
| AIO Pump | AIO_PUMP | Full Speed |
| Custom Pump | W_PUMP+ | PWM Control |
| External Pump | Molex / SATA | No BIOS Control |
Step 6: Test for operation
You can feel a slight vibration or hum from the pump once it’s running. Use monitoring software to check RPM values (usually between 2000–3500 RPM for AIOs).
Step 7: Monitor temperature
Watch CPU temperatures in BIOS or software tools. Idle temps should remain around 25–35°C. If temperatures rise rapidly, turn off the system immediately and recheck the connection.
Common mistakes to avoid
| Mistake | Result | Fix |
|---|---|---|
| Plugging into CPU_FAN | Inconsistent voltage | Use AIO_PUMP or W_PUMP+ header |
| Forgetting SATA power | Pump won’t start | Connect both motherboard and PSU cables |
| BIOS set to Auto | Fluctuating speed | Set to Full Speed or PWM |
| Loose connector | Pump stops randomly | Ensure firm connection |
| Reversed tubing | Poor coolant flow | Follow manufacturer’s flow direction |
Once you verify that the pump runs continuously and temperatures are stable, your system is ready for reliable operation.
What are the hardware trends in pump control?
As cooling technology evolves, pump design and control have become smarter, quieter, and more efficient. When I compare modern pumps with older models, the difference in intelligence and noise reduction is remarkable.
The latest hardware trends in pump control include smart PWM regulation, AI-driven thermal response, integrated sensors, magnetic levitation motors, and software-based performance tuning.
1. Smart PWM and DC hybrid control
Modern pumps now support both PWM and DC control modes, allowing fine-tuned speed adjustments. This flexibility lets users balance performance and noise automatically based on system load.
2. AI-based adaptive cooling
Some new motherboards include AI thermal algorithms that learn user patterns. They predict temperature changes and adjust pump speeds proactively to prevent spikes or drops.
3. Magnetic levitation and ceramic bearings
Next-generation pumps use magnetic levitation to eliminate friction. Combined with ceramic bearings, they achieve quieter operation and longer life cycles—up to 100,000 hours of use.
4. Integrated flow and temperature sensors
Newer pump designs come with built-in sensors that monitor coolant temperature and flow rate. These data points feed into software dashboards, allowing real-time performance tracking.
| Feature | Description | Benefit |
|---|---|---|
| Flow Sensor | Measures coolant circulation speed | Detects blockages early |
| Temperature Sensor | Reads coolant temperature | Prevents overheating |
| RPM Feedback | Tracks pump performance | Alerts on failure |
5. USB and software integration
Manufacturers now include USB interfaces on pumps that connect directly to the motherboard. Software like Corsair iCUE, ASUS Armoury Crate, or MSI Center lets users control and monitor pumps digitally.
6. Silent and energy-efficient designs
Pump motors are now optimized for low power draw while maintaining consistent flow. Intelligent standby modes reduce energy usage without stopping coolant movement completely.
7. Modular and quick-connect designs
For custom loops, modular pumps with quick-disconnect fittings make maintenance easier. You can swap pumps or reservoirs without draining the entire system.
8. Eco-friendly materials
Many brands are moving toward recyclable pump casings and biodegradable lubricants to meet environmental standards while improving sustainability.
9. Future direction
In the next few years, we’ll see AI-managed cooling ecosystems where the pump, fans, and sensors communicate directly. These self-regulating systems will adjust power delivery dynamically for maximum efficiency and reliability with zero user input.
Conclusion
A liquid cooling pump should always be plugged into the AIO_PUMP or W_PUMP+ header to ensure stable power and proper control. The pump’s job is to circulate coolant efficiently, and connecting it correctly protects your system from overheating. With smarter controls, sensor integration, and AI-driven management on the rise, modern pumps are becoming quieter, more efficient, and easier to maintain—making liquid cooling both powerful and accessible for everyone.
TAGS
Latest Articles

Volume discount levels for heat sink orders?
Buyers often ask when heat sink prices start to drop with volume. Many worry they’re overpaying for small orders. This guide explains how B2B volume pricing works for thermal components. Heat sink
21 Dec,2025
Heat sink long-term supply contract options?
Many buyers want stable pricing and reliable delivery for heat sinks. But without a clear contract, risks grow over time. This article explores how to secure better long-term supply deals. Long-term
21 Dec,2025
Tooling cost for new heat sink profiles?
Many engineers struggle to understand why tooling for custom heat sinks costs so much. They worry about budgeting and production timelines. This article breaks down the cost drivers behind tooling.
21 Dec,2025
Heat sink custom sample process steps?
Sometimes, starting a custom heat sink project feels overwhelming—too many steps, too many unknowns, and too many risks. You want a sample, but not endless delays. The process for requesting and
20 Dec,2025
Standard B2B terms for heat sink payments?
When buyers and sellers in B2B heat sink markets talk about payment, many don’t fully understand what’s standard. This can lead to delayed orders, miscommunication, and even lost business
20 Dec,2025
Heat sink pricing factors for large orders?
Heat sinks are vital for many systems. When prices rise, projects stall and budgets break. This problem can hit teams hard without warning. Large order heat sink pricing depends on many factors. You
20 Dec,2025Related Articles
- How to install a CPU liquid cooler?
- How to liquid cool your computer?
- How does liquid nitrogen cooling work?
- What is the best CPU liquid cooler?
- How to maintain liquid cooling?
- Does the i9 9900K need liquid cooling?
- How to refill a liquid cooler?
- Who makes liquid-cooled servers?
- Is liquid cooling CPU worth it?
- What is the best liquid for water cooling?
- Does Xbox Series X have liquid cooling?
- Which is better, liquid cooling or fan?
Author
Dr. Emily Chen
Chief AI Researcher
Leading expert in thermal dynamics and AI optimization with over 15 years of experience in data center efficiency research.
Categories
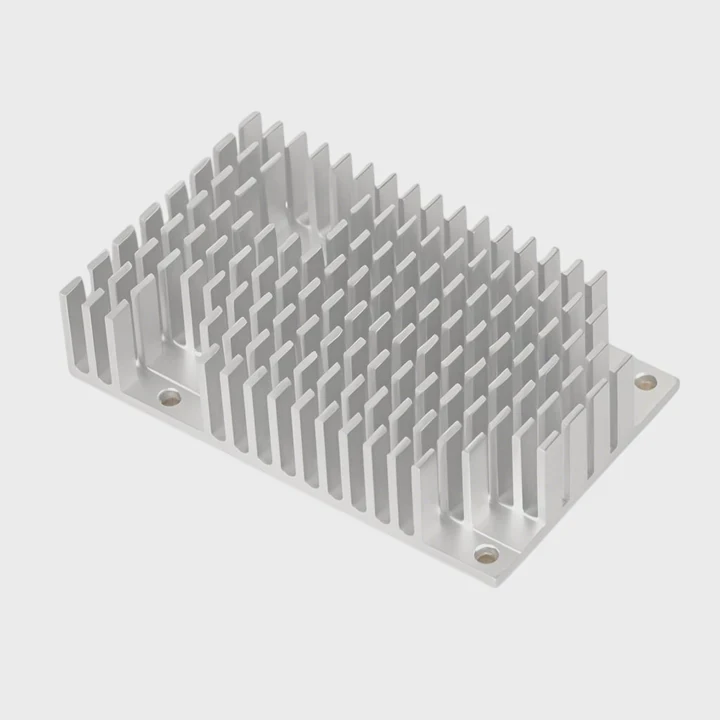
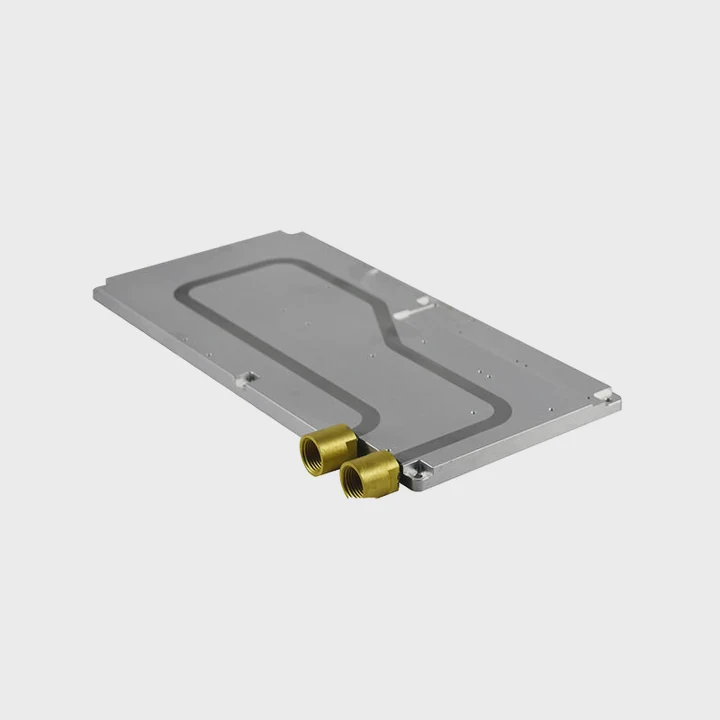
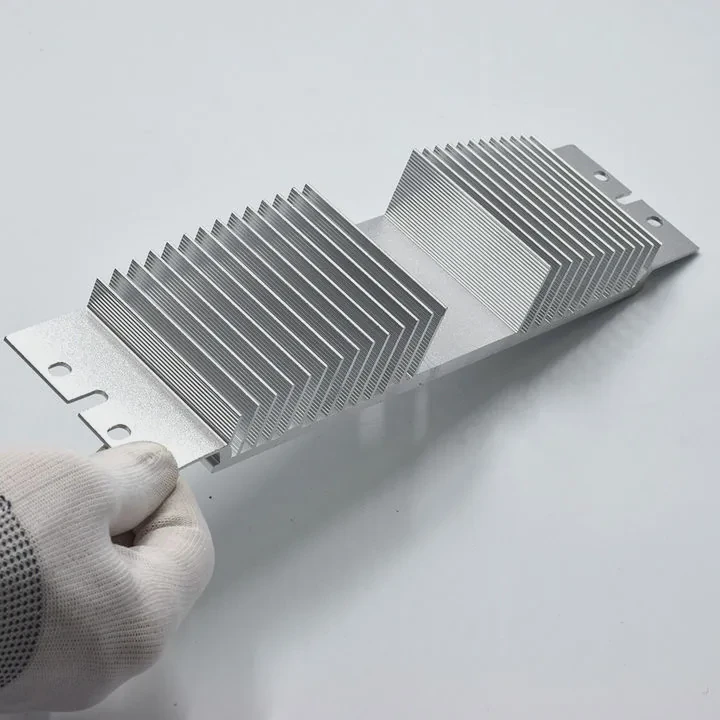
Latest Products


Recommend Categories
- Liquid cooling plate Manufacturer
- Industrial Heat Sink Manufacturer
- Standard Heat Sink Manufacturer
- Aluminum Heat Sink Manufacturer
- Copper Heat Sink Manufacturer
- Anodized Heatsink Manufacturer
- Stamping heat sink Manufacturer
- Die Casting Heatsink Manufacturer
- Soldering heat sink Manufacturer
- CNC Parts Manufacturer
Latest Products
- Wholesale Aluminum Radiator
- Water Cooling Plate Kit
- Water Cooling Heat Sink
- Water Cooling Heat Sink Kit
- Stainless Steel Water Distributor
- Server Water Cooling Plate Kit
- Server Liquid Cooling System
- Server Aluminum Cooling Kit
- S19 Full Cover Cooling Plate
- S19 Cooling Plate Kit
- S19 Aluminum Cooling Plate
Contact Expert
Have questions about this article? Reach out to our experts directly.