How Hard Is It to Install Liquid Cooling?
Many PC builders worry about installing liquid cooling systems. The fear of leaks, pump issues, or wrong mounting can make it seem intimidating.
Installing liquid cooling is easier than most people think, especially with modern all-in-one (AIO) kits that are pre-filled and pre-assembled.
When done correctly, it can greatly improve cooling performance, noise levels, and system stability — even for first-time builders.
What Does Liquid Cooling Installation Involve?
At first glance, a liquid cooler seems complicated with its tubes, radiator, and pump. But the process follows a logical order once you understand each part’s function.
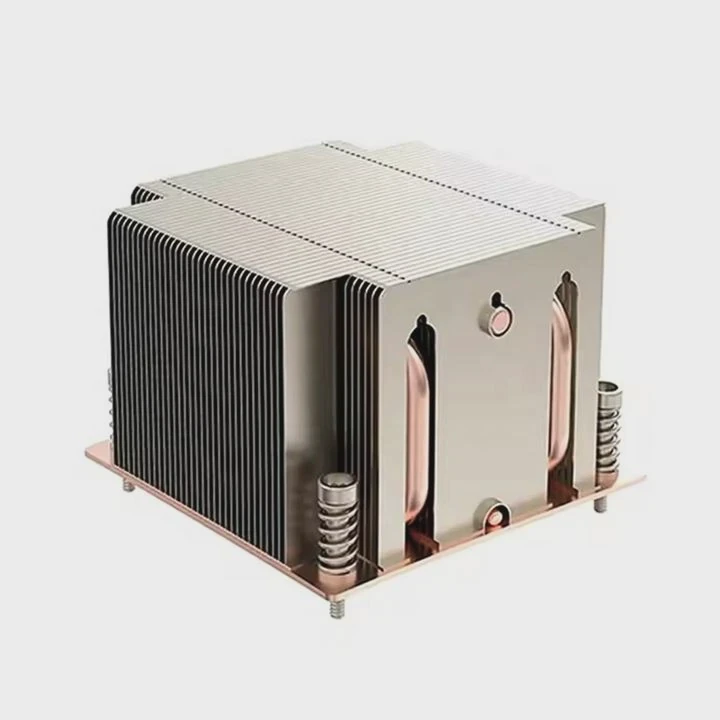
Liquid cooling installation involves mounting the radiator and fans, securing the pump to the CPU or GPU, connecting power cables, and ensuring proper airflow and tubing orientation.
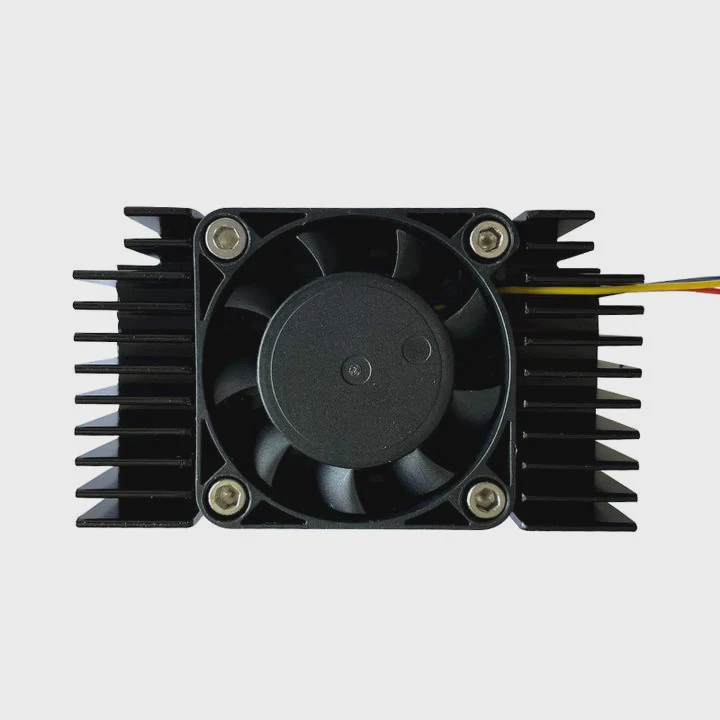
Main Components Involved
| Component | Description | Key Function |
|---|---|---|
| Pump & Cold Plate | Mounts on CPU/GPU | Moves coolant and absorbs heat |
| Radiator | Metal heat exchanger | Releases heat into the air |
| Fans | Mounted on radiator | Push air to remove heat |
| Tubes | Connect pump and radiator | Circulate coolant |
| Coolant | Liquid solution | Transfers heat efficiently |
Step-by-Step Overview
- Preparation: Clean the CPU surface, arrange components, and plan airflow.
- Mount Radiator: Fix it to the case (top, front, or side) for best airflow.
- Attach Pump Block: Use thermal paste and secure evenly.
- Connect Fans and Power: Attach to motherboard headers or controller.
- Cable Management: Keep cables tidy and avoid fan blockage.
- System Test: Power on and monitor temperatures.
Installing an AIO cooler takes about 20–30 minutes for beginners and under 15 minutes for experienced builders.
What Are the Benefits of Proper Installation?
Many users underestimate how much proper installation affects performance. A poorly mounted radiator or pump can reduce cooling efficiency or even damage hardware.
Proper installation ensures optimal heat transfer, prevents leaks, reduces noise, and extends both CPU and cooler lifespan.
Key Benefits of Correct Setup
- Better Cooling Efficiency: Proper thermal paste application and even pressure help maximize contact between CPU and cold plate.
- Lower Noise Levels: Fans and pumps work less when temperatures are controlled efficiently.
- Longer Component Life: Stable temperatures reduce wear on CPU and motherboard power components.
- Improved System Stability: Prevents thermal throttling during heavy workloads.
- Leak Prevention: Correct orientation and tubing placement reduce strain on seals and fittings.
Example: Performance Impact
| Setup Type | Average CPU Temp (Load) | Noise Level (dBA) | Risk of Leak |
|---|---|---|---|
| Proper Installation | 60°C | 28 | Very Low |
| Incorrect Installation | 78°C | 36 | Medium–High |
Correct installation doesn’t just make the system look clean — it directly impacts cooling performance and reliability over time.
How to Simplify the Process for Beginners?
When I built my first liquid-cooled PC, I spent hours watching tutorials and reading forums. It was overwhelming until I discovered that most AIO coolers are designed for easy installation.
To simplify the installation, beginners should follow a structured checklist, use modular cases with radiator support, and stick to pre-filled AIO units instead of custom loops.
Beginner-Friendly Tips
1. Choose the Right Cooler
Select an AIO liquid cooler that matches your CPU socket and case size. 240mm or 280mm models are ideal for mid-tower builds.
2. Pre-Plan Your Layout
Think about where the radiator and tubes will go. Make sure they don’t block memory or GPU slots.
3. Use the Included Backplate
Modern AIOs come with universal mounting brackets. Follow the labeled instructions carefully.
4. Apply Thermal Paste Correctly
A small pea-sized amount is enough. Too much paste can cause uneven pressure.
5. Check Fan Direction
Fans should pull air through the radiator and exhaust it out of the case.
6. Test Before Closing the Case
Always boot up and check for fan and pump operation before sealing the system.
Simplified Installation Flow
- Plan → 2. Mount radiator → 3. Apply paste → 4. Attach pump → 5. Plug cables → 6. Test
Even beginners can finish an installation in under an hour by following this process.
What Are the Trends in Easy-Install Cooling Kits?
Technology keeps improving, and so does the user experience. Cooling systems are becoming simpler, smarter, and safer to install.
Modern easy-install cooling kits now feature modular brackets, pre-applied thermal paste, toolless mounting, AI pump control, and even leak-detection systems.
Key Trends in Simplified Cooling Design
Pre-Assembled Units:
Manufacturers now seal pumps, tubes, and radiators at the factory, eliminating filling or bleeding steps.Tool-Free Mounting:
Some coolers feature snap-on brackets or twist-lock mechanisms that remove the need for screwdrivers.Integrated Pump Control:
AI-based systems automatically adjust pump speed for load and temperature.Leak-Proof Materials:
New rubber compounds and fittings can withstand high pressure and temperature changes without failure.Smart Lighting and Monitoring:
Many kits integrate ARGB lighting with real-time monitoring through software or motherboard sync.
Emerging Market Innovations
| Innovation | Description | Benefit |
|---|---|---|
| Pre-Applied Thermal Paste | Factory-applied layer | Saves time and prevents mistakes |
| Magnetic Mounts | Tool-free mounting system | Faster setup |
| Dual-Chamber Pumps | Isolated motor section | Reduces vibration and noise |
| AI Temperature Management | Smart speed adjustment | Optimal cooling efficiency |
Future Outlook
Manufacturers are now focused on “plug-and-play” liquid cooling — systems that anyone can install without technical knowledge. In the near future, we may see self-diagnostic AIOs that detect air bubbles or thermal issues automatically and adjust settings on the fly.
These trends make liquid cooling more accessible to everyday users while keeping the high performance demanded by enthusiasts.
Conclusion
Installing liquid cooling isn’t as hard as it looks. With modern AIO kits, simplified mounting systems, and clear guides, even beginners can achieve professional cooling results safely and efficiently. The evolution of easy-install kits ensures liquid cooling is no longer just for experts — it’s for everyone.
TAGS
Latest Articles

Volume discount levels for heat sink orders?
Buyers often ask when heat sink prices start to drop with volume. Many worry they’re overpaying for small orders. This guide explains how B2B volume pricing works for thermal components. Heat sink
21 Dec,2025
Heat sink long-term supply contract options?
Many buyers want stable pricing and reliable delivery for heat sinks. But without a clear contract, risks grow over time. This article explores how to secure better long-term supply deals. Long-term
21 Dec,2025
Tooling cost for new heat sink profiles?
Many engineers struggle to understand why tooling for custom heat sinks costs so much. They worry about budgeting and production timelines. This article breaks down the cost drivers behind tooling.
21 Dec,2025
Heat sink custom sample process steps?
Sometimes, starting a custom heat sink project feels overwhelming—too many steps, too many unknowns, and too many risks. You want a sample, but not endless delays. The process for requesting and
20 Dec,2025
Standard B2B terms for heat sink payments?
When buyers and sellers in B2B heat sink markets talk about payment, many don’t fully understand what’s standard. This can lead to delayed orders, miscommunication, and even lost business
20 Dec,2025
Heat sink pricing factors for large orders?
Heat sinks are vital for many systems. When prices rise, projects stall and budgets break. This problem can hit teams hard without warning. Large order heat sink pricing depends on many factors. You
20 Dec,2025Related Articles
- Where to install a liquid CPU cooler?
- Does liquid cooling increase performance?
- What is liquid cooling for computers?
- Is liquid cooling quieter?
- What Is All-in-One Liquid Cooling?
- How to know if my liquid cooler is working?
- How to setup liquid CPU cooler?
- Is air cooling better than liquid cooling?
- How to liquid cool?
- How to set up a liquid cooler?
- How Expensive Is Liquid Cooling?
- Is air cooling or liquid cooling better?
Author
Dr. Emily Chen
Chief AI Researcher
Leading expert in thermal dynamics and AI optimization with over 15 years of experience in data center efficiency research.
Categories
Latest Products


Recommend Categories
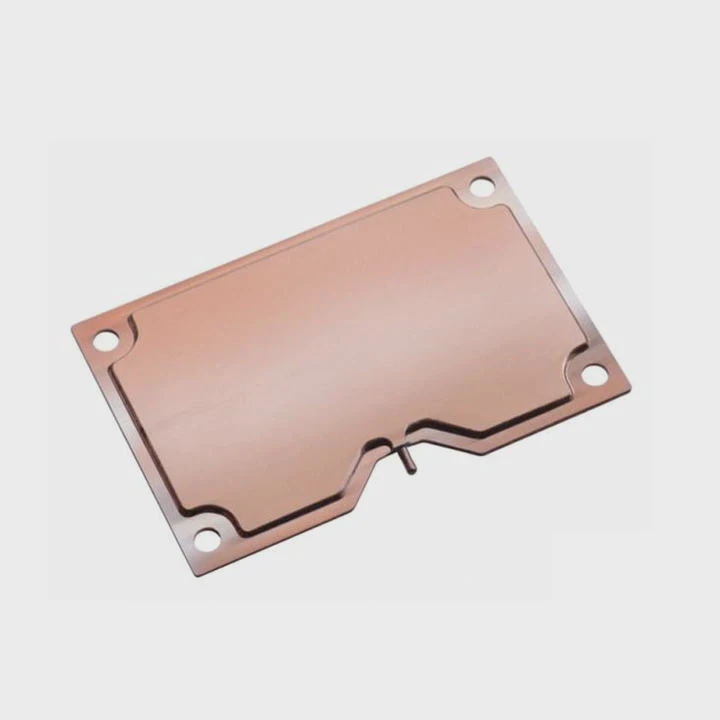
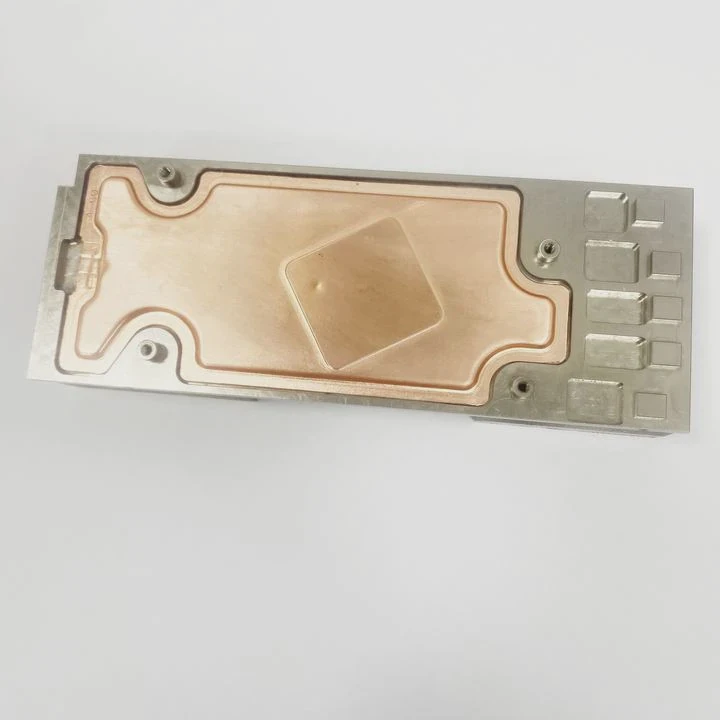
- Liquid cooling plate Manufacturer
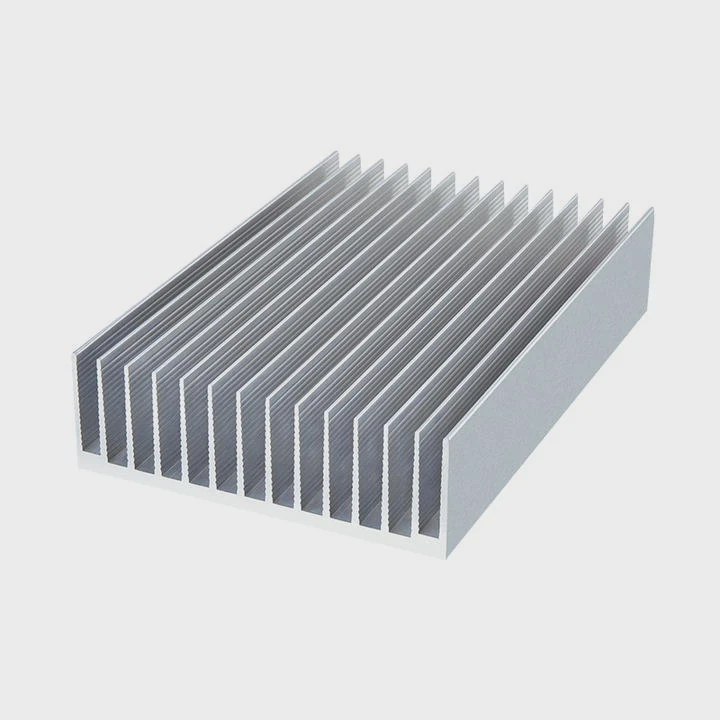
- Industrial Heat Sink Manufacturer
- Standard Heat Sink Manufacturer
- Aluminum Heat Sink Manufacturer
- Copper Heat Sink Manufacturer
- Anodized Heatsink Manufacturer
- Stamping heat sink Manufacturer
- Die Casting Heatsink Manufacturer
- Soldering heat sink Manufacturer
- CNC Parts Manufacturer
Latest Products
- Wholesale Aluminum Radiator
- Water Cooling Plate Kit
- Water Cooling Heat Sink
- Water Cooling Heat Sink Kit
- Stainless Steel Water Distributor
- Server Water Cooling Plate Kit
- Server Liquid Cooling System
- Server Aluminum Cooling Kit
- S19 Full Cover Cooling Plate
- S19 Cooling Plate Kit
- S19 Aluminum Cooling Plate
Contact Expert
Have questions about this article? Reach out to our experts directly.