How to set up a liquid cooler?
When you buy a liquid cooler, the goal is clear — to keep your CPU running cool and stable. But many people fail to get the most out of their cooler simply because of incorrect setup.
You set up a liquid cooler by mounting the radiator in a high-airflow area, connecting the pump correctly, applying thermal paste evenly, and testing fan and pump performance after installation.
Let’s explore what a liquid cooler is, why setup matters, how to install and configure it efficiently, and what new design trends are shaping modern cooling technology.
What is a liquid cooler?
A liquid cooler is a device that removes heat from your computer’s CPU by using liquid instead of air to transfer heat away from the processor.
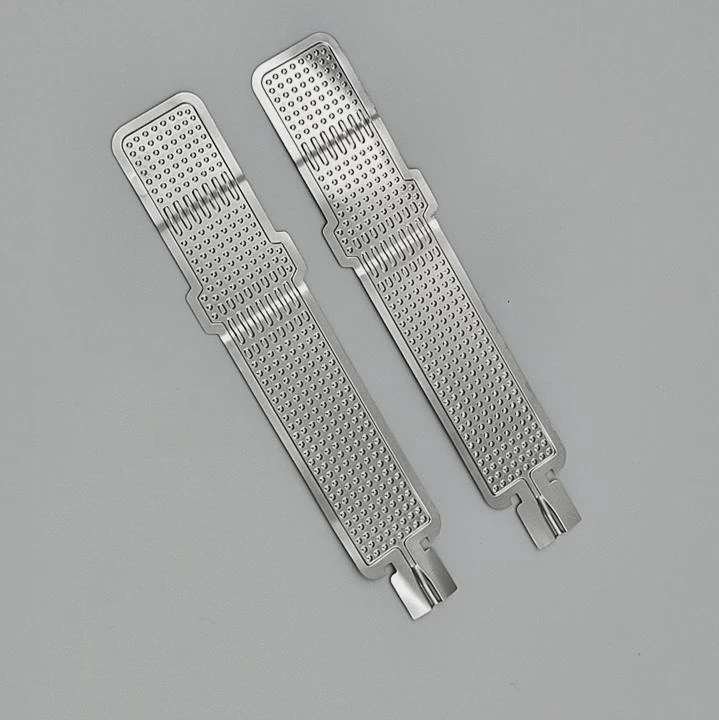
A liquid cooler uses a water block, pump, tubes, and radiator to move heat away from the CPU and release it into the air through fans.
1. Key components of a liquid cooler
| Component | Function | Material |
|---|---|---|
| Water Block | Transfers heat from CPU | Copper or Aluminum |
| Pump | Circulates coolant | Plastic or Ceramic |
| Tubes | Moves coolant between components | Rubber or Nylon |
| Radiator | Dissipates heat to air | Aluminum or Copper |
| Fans | Push or pull air through radiator | Plastic blades, ball bearings |
When the CPU generates heat, it transfers through thermal paste into the water block. The liquid absorbs this heat, flows to the radiator, and the fans blow cool air through it to release the heat. The cooled liquid then returns to the CPU block to repeat the process.
2. Types of liquid coolers
- AIO (All-in-One): Pre-assembled, maintenance-free system ideal for most users.
- Custom loop: Fully customizable with separate pump, reservoir, and tubing — often used by enthusiasts.
3. Benefits of liquid cooling
- Higher thermal efficiency
- Lower noise
- Better overclocking potential
- Sleeker PC design
Why proper setup matters?
Even the best cooler can fail to perform if it’s installed incorrectly. Proper setup ensures maximum cooling efficiency and prevents air bubbles, leaks, or pump damage.
Proper setup matters because it ensures stable CPU temperatures, prevents trapped air in the loop, and extends the cooler’s lifespan.
1. Preventing air bubble buildup
Liquid coolers always contain small pockets of air. If the pump is positioned above the radiator, air can settle in the pump, causing gurgling noises, reduced flow, and even pump damage. Proper placement prevents this.
2. Maintaining efficient coolant flow
A good setup keeps the tubing straight and the pump below the highest point of the loop. This ensures smooth circulation and consistent cooling performance.
3. Maximizing airflow
Radiator placement determines how air flows through your system. Poor positioning can recycle warm air, reducing cooling efficiency for both CPU and GPU.
4. Avoiding pump stress
Mounting the radiator incorrectly or allowing tight bends in tubing can put unnecessary pressure on the pump, shortening its lifespan.
5. Ensuring safe electrical connections
Improper wiring can cause the pump to stop working without you noticing, leading to overheating. Always connect the pump to a dedicated AIO_PUMP or CPU_FAN header.
| Issue | Cause | Impact |
|---|---|---|
| Air trapped in pump | Radiator mounted below pump | Pump noise and failure |
| Poor airflow | Blocked radiator fans | Higher CPU temps |
| Loose contact | Uneven mounting pressure | Thermal inefficiency |
| Wrong power connection | Pump not powered | Instant overheating |
6. Achieving quieter performance
Correct setup not only cools better but also reduces fan noise. Balanced fan curves and smooth pump operation make your system much quieter under load.
How to set it up efficiently?
Setting up a liquid cooler requires attention to detail. A few simple steps can make a big difference in cooling efficiency and system stability.
To set up a liquid cooler efficiently, place the radiator for optimal airflow, connect the pump properly, apply thermal paste evenly, and fine-tune fan and pump speeds.
1. Choose the right mounting location
Most cases support radiator mounting at the top, front, or side.
- Top mount (exhaust): Removes hot air efficiently.
- Front mount (intake): Brings in cooler air for maximum CPU performance.
- Side mount (optional): Works well in custom or compact builds.
2. Keep the pump below the radiator
Always install the radiator so that the pump sits lower than the top of the loop. This prevents air from collecting in the pump chamber. If the tubes are at the top of a front-mounted radiator, air can stay trapped inside and cause noise or wear.
3. Apply thermal paste correctly
Apply a small pea-sized amount of paste at the center of the CPU before attaching the water block. The pressure from mounting will spread it evenly for full surface contact.
4. Secure the water block evenly
Tighten screws in a diagonal pattern, a little at a time, to apply even pressure. Uneven mounting leads to poor heat transfer and higher CPU temps.
5. Manage tubing and cables
Avoid sharp bends or tight tubing paths. Keep cables tidy and away from fans. Use cable ties to organize power leads for a cleaner, more efficient airflow path.
6. Connect pump and fans to correct headers
- Pump → AIO_PUMP or CPU_FAN header
- Fans → Radiator_FAN or SYS_FAN headers
Make sure BIOS recognizes pump speed and fan RPMs.
7. Check airflow direction
Fans on the radiator should push or pull air consistently. For a front-mounted radiator, fans usually pull cool air into the case. For top-mounted radiators, fans push warm air out.
8. BIOS and software setup
Enter the BIOS to confirm that the pump and fans are running. Enable PWM or DC mode according to your cooler’s requirements. Many coolers also have control software for custom fan curves.
9. Test and monitor temperatures
Use programs like HWMonitor, HWiNFO, or NZXT CAM to monitor CPU temperature and pump RPM.
- Idle: 30–40°C
- Load: 60–75°C (depending on ambient temperature and CPU type)
| Step | Action | Purpose |
|---|---|---|
| 1 | Mount radiator (front/top) | Optimize airflow |
| 2 | Install fans | Push or pull configuration |
| 3 | Apply thermal paste | Improve contact |
| 4 | Attach CPU block | Secure and seal |
| 5 | Connect power headers | Enable control |
| 6 | Test system | Verify function |
| 7 | Adjust fan curves | Balance noise and cooling |
10. Routine maintenance
AIO coolers are mostly maintenance-free, but you should clean the radiator and fans every few months. For custom loops, check coolant levels every 6–12 months and refill if needed.
11. Troubleshooting
- No pump noise → Check power header.
- High temperatures → Reapply thermal paste or remount block.
- Bubbling sounds → Air trapped in loop; reorient radiator.
- Fan not spinning → Check connection or BIOS control mode.
What are the design trends in coolers?
Liquid cooler design is evolving rapidly. New materials, smarter controls, and more compact systems are shaping the next generation of thermal solutions.
Modern liquid cooler designs focus on compact form factors, smart pump controls, modular layouts, and improved materials for better heat transfer and reliability.
1. Compact integrated pumps
Manufacturers are now embedding pumps into radiators instead of CPU blocks. This reduces vibration near the CPU socket and makes installation easier in small cases.
2. Modular radiator systems
New coolers allow detachable radiator segments. This modular approach lets users expand or shrink their cooling setup without replacing the entire system.
3. Smart pump and fan control
AI-powered control systems automatically adjust pump and fan speeds based on workload and ambient temperature. This improves performance while keeping noise low.
4. Advanced materials and coatings
Modern coolers use microfin copper blocks for better surface contact and anti-corrosion coatings on radiators. Some also feature ceramic bearings in pumps for longer lifespan.
5. Vapor chamber integration
Some high-end coolers now use vapor chambers under the CPU block to spread heat evenly before it reaches the coolant, improving heat absorption efficiency.
6. Aesthetic design evolution
RGB lighting, hidden cables, and low-profile tubing are now standard. Many coolers feature infinity mirror pump caps or LCD screens showing temperature data.
7. Custom loop simplification
Custom cooling kits are becoming easier to build. Quick-connect fittings and pre-filled tubing reduce the risk of leaks and make maintenance simpler for new builders.
| Trend | Description | Benefit |
|---|---|---|
| Integrated Pump Radiator | Pump built into radiator | Space saving |
| Smart AI Control | Auto-adjust fan/pump speed | Quieter performance |
| Vapor Chamber Blocks | Evens out heat load | Faster cooling |
| Modular Radiators | Expandable design | Flexible setup |
| Anti-Corrosion Coating | Prevents oxidation | Longer life |
8. Silent operation designs
Noise reduction is now a top priority. New pump chambers are designed with vibration dampers, and fans use magnetic levitation bearings for near-silent airflow.
9. Hybrid cooling systems
Manufacturers are combining air and liquid cooling technologies. These hybrid solutions integrate small air coolers for VRMs or GPUs within the liquid loop for balanced system cooling.
10. Sustainability focus
Eco-friendly, non-toxic coolants and recyclable materials are becoming more common. Brands are moving toward maintenance-free, leak-proof systems with longer warranties.
11. The future of cooler design
Expect AI diagnostics, wireless monitoring, and self-sealing connectors to become standard. Future systems will likely integrate directly into motherboards or chipsets for a seamless, compact design.
Conclusion
Setting up a liquid cooler properly is the key to maximizing your CPU’s performance and longevity. Mount the radiator where airflow is strongest, keep the pump below the radiator, and connect everything securely. With smarter designs and AI control, modern coolers make efficient setup easier than ever.
TAGS
Latest Articles

Volume discount levels for heat sink orders?
Buyers often ask when heat sink prices start to drop with volume. Many worry they’re overpaying for small orders. This guide explains how B2B volume pricing works for thermal components. Heat sink
21 Dec,2025
Heat sink long-term supply contract options?
Many buyers want stable pricing and reliable delivery for heat sinks. But without a clear contract, risks grow over time. This article explores how to secure better long-term supply deals. Long-term
21 Dec,2025
Tooling cost for new heat sink profiles?
Many engineers struggle to understand why tooling for custom heat sinks costs so much. They worry about budgeting and production timelines. This article breaks down the cost drivers behind tooling.
21 Dec,2025
Heat sink custom sample process steps?
Sometimes, starting a custom heat sink project feels overwhelming—too many steps, too many unknowns, and too many risks. You want a sample, but not endless delays. The process for requesting and
20 Dec,2025
Standard B2B terms for heat sink payments?
When buyers and sellers in B2B heat sink markets talk about payment, many don’t fully understand what’s standard. This can lead to delayed orders, miscommunication, and even lost business
20 Dec,2025
Heat sink pricing factors for large orders?
Heat sinks are vital for many systems. When prices rise, projects stall and budgets break. This problem can hit teams hard without warning. Large order heat sink pricing depends on many factors. You
20 Dec,2025Related Articles
- How to liquid cool?
- Is air cooling better than liquid cooling?
- How to setup liquid CPU cooler?
- How Hard Is It to Install Liquid Cooling?
- Where to install a liquid CPU cooler?
- Does liquid cooling increase performance?
- How Expensive Is Liquid Cooling?
- Is air cooling or liquid cooling better?
- What is liquid cooling system?
- What does liquid cooled engine mean?
- How CPU liquid cooler works?
- Can Liquid Cooling Leak?
Author
Dr. Emily Chen
Chief AI Researcher
Leading expert in thermal dynamics and AI optimization with over 15 years of experience in data center efficiency research.
Categories
Latest Products


Recommend Categories
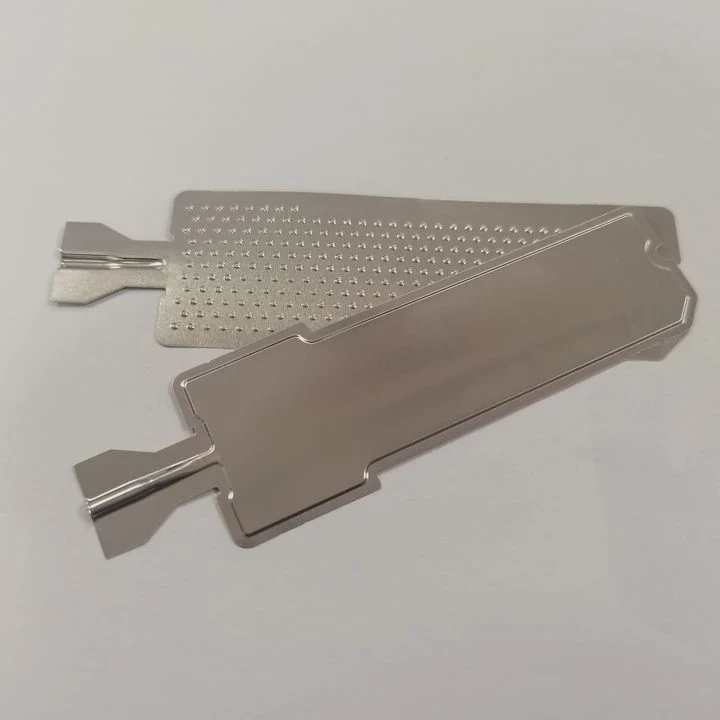
- Liquid cooling plate Manufacturer
- Industrial Heat Sink Manufacturer
- Standard Heat Sink Manufacturer
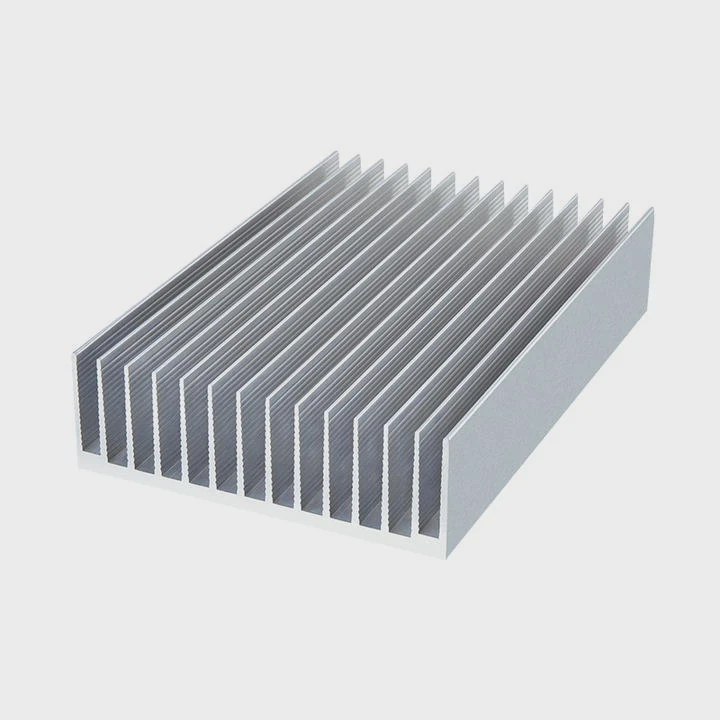
- Aluminum Heat Sink Manufacturer
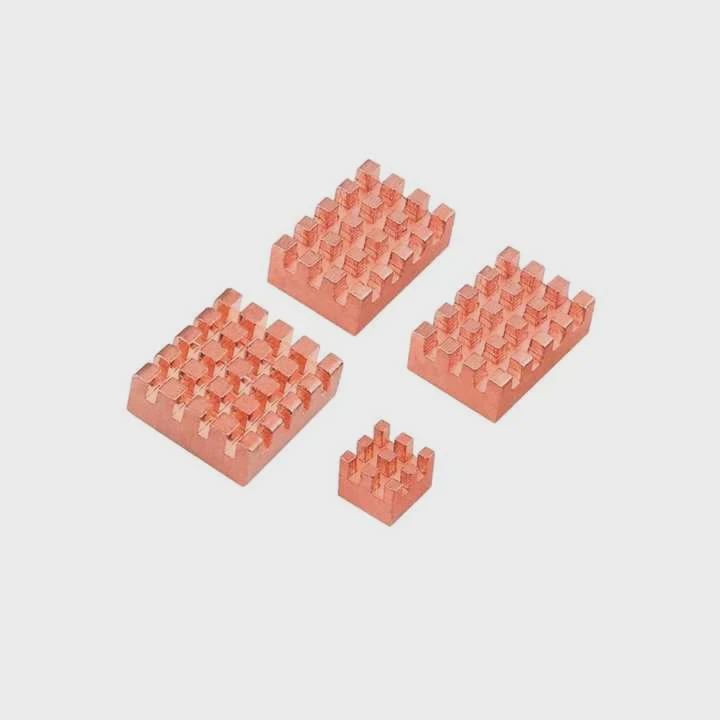
- Copper Heat Sink Manufacturer
- Anodized Heatsink Manufacturer
- Stamping heat sink Manufacturer
- Die Casting Heatsink Manufacturer
- Soldering heat sink Manufacturer
- CNC Parts Manufacturer
Latest Products
- Wholesale Aluminum Radiator
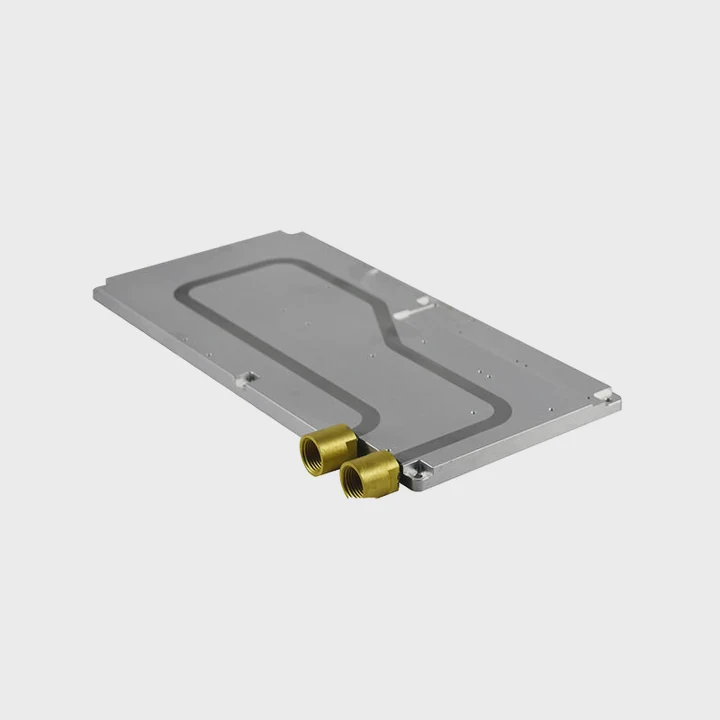
- Water Cooling Plate Kit
- Water Cooling Heat Sink
- Water Cooling Heat Sink Kit
- Stainless Steel Water Distributor
- Server Water Cooling Plate Kit
- Server Liquid Cooling System
- Server Aluminum Cooling Kit
- S19 Full Cover Cooling Plate
- S19 Cooling Plate Kit
- S19 Aluminum Cooling Plate
Contact Expert
Have questions about this article? Reach out to our experts directly.