How to liquid cool?
Many people struggle with overheating computers, especially during gaming or heavy workloads. Fans get noisy, performance drops, and the system feels unstable.
Liquid cooling works by circulating coolant through tubes and blocks to absorb and remove heat from your CPU, GPU, or other components.
It’s one of the most effective ways to keep a system cool and quiet. Let’s break down what liquid cooling is, how it works, and how you can install your own loop safely.
What is liquid cooling?
When air cooling reaches its limit, liquid cooling takes over as a more efficient alternative.
Liquid cooling uses water or special coolant to transfer heat away from components faster than air can.
Inside every liquid cooling setup, heat is absorbed by a water block, carried through tubes by a pump, and released into the air through a radiator. This process works because liquids conduct heat much better than air. As a result, temperatures drop significantly, especially under heavy load.
How it works step by step
| Component | Function |
|---|---|
| Water Block | Sits on top of CPU/GPU to absorb heat |
| Pump | Pushes coolant through the system |
| Radiator | Releases heat into the air |
| Fans | Move air across the radiator fins |
| Reservoir | Stores extra coolant and allows refilling |
The coolant runs in a closed loop. As it flows through, it picks up heat from the CPU or GPU and dumps it into the radiator, where fans blow it away. Then the coolant cools down and goes back to the water block again. This cycle repeats nonstop.
Why liquid is better than air
Air coolers depend on the movement of air to carry heat away, but air has low thermal conductivity. Water or glycol-based coolant transfers heat about 25 times more efficiently. That’s why even small liquid systems can outperform large air coolers.
What are the benefits of using liquid cooling?
For many people, the main reason to switch to liquid cooling is not just performance—it’s comfort, stability, and aesthetics.
Liquid cooling keeps systems cooler, quieter, and more stable, which helps extend component lifespan and maintain higher speeds.

Major benefits of liquid cooling
| Benefit | Description |
|---|---|
| Better performance | Reduces CPU/GPU temperature, allowing higher boost clocks |
| Less noise | Fans spin slower because heat is absorbed by coolant |
| Longer lifespan | Components face less heat stress and wear |
| Clean aesthetics | Tubes and blocks create a neat, modern look |
| Scalability | Can cool multiple parts at once (CPU + GPU + VRM) |
Real-world results
In one of my workstation builds, I replaced a large air cooler with a custom liquid loop. CPU temps dropped from 88°C to 56°C under full rendering load. The fan noise went down by almost half. Over months of use, performance stayed stable and thermal throttling disappeared completely.
Lower noise and better temperature control also create a better working environment. For people who spend hours in front of high-performance PCs, this can make a big difference.
How to install a liquid cooling loop?
Installing liquid cooling may look complex, but with planning and patience, anyone can do it.
To install a liquid cooling loop, connect the water blocks, radiator, pump, and reservoir in a closed circuit, then fill and bleed the system carefully.
Before starting, you need to choose between AIO (All-In-One) systems and custom loops.
- AIOs are pre-built units for quick installation—great for beginners.
- Custom loops offer better cooling, flexibility, and visual appeal but require more time to set up.
Step-by-step guide for a custom loop
Plan your loop layout
Decide the order of your components. A common layout is:
Reservoir → Pump → CPU Block → GPU Block → Radiator → ReservoirInstall the water blocks
Mount CPU and GPU water blocks according to the manufacturer’s guide. Apply thermal paste evenly for best heat transfer.Mount the radiator
Attach the radiator and fans to your case. Make sure airflow direction is correct—fans should push or pull air through the fins efficiently.Connect tubing
Cut tubes to length and connect each part. Double-check fitting tightness to avoid leaks.Install the pump and reservoir
Secure them at the bottom or front of the case. This ensures coolant always feeds the pump with gravity assistance.Fill the loop
Pour coolant slowly into the reservoir while the pump runs at low speed. This pushes air out and circulates coolant through the system.Bleed the system
Tilt the case gently to release trapped air bubbles. Keep running the pump until the loop is air-free.Leak test
Run the pump for several hours without powering the main system. Check for drips or wet fittings.Power up and monitor
Once leak-free, boot the system and monitor temperature using tools like HWMonitor or AIDA64.
Important tips
- Always check compatibility between fittings, tubing size, and coolant type.
- Use distilled water or manufacturer-approved coolants to prevent corrosion.
- Keep the loop clean by flushing it every 6–12 months.
- Avoid mixing metals like copper and aluminum in one loop to prevent galvanic corrosion.
Installing your first custom loop can take several hours, but the satisfaction of seeing smooth tubes, quiet fans, and cool hardware is worth it.
What are the modern DIY cooling trends?
The world of liquid cooling has evolved far beyond traditional water blocks and radiators.
Modern DIY cooling trends focus on modular systems, AI-assisted control, and eco-friendly materials.
Trend 1: Modular and quick-connect systems
DIY enthusiasts now prefer modular cooling components. These systems use quick-connect fittings that let you detach or replace parts without draining the entire loop. This saves time during upgrades or maintenance.
Trend 2: AI and smart control
New controllers with sensors can automatically adjust pump speed and fan curves based on temperature and workload.
For example, when gaming, the system boosts cooling power. When idle, it slows down for silence. This kind of intelligent control is becoming standard.
Trend 3: RGB and transparent loops
Aesthetic customization is a big part of DIY builds. Transparent tubes, colored coolant, and RGB lighting make systems visually impressive. Builders now treat cooling as both a performance tool and a design element.
Trend 4: Eco-friendly coolants and materials
Many brands are moving away from toxic chemicals toward biodegradable, non-conductive coolants. Aluminum-based radiators and recyclable tubing are gaining popularity, reducing environmental impact.
Trend 5: Integration with PC cases
Modern cases are designed for liquid cooling from the start. They come with radiator mounts, pump brackets, and pre-drilled tube routes. This integration makes building easier and safer.
Looking ahead
The next stage in DIY cooling will likely involve hybrid systems that combine liquid and phase-change cooling. These systems could keep CPUs below ambient temperature without using compressors.
The DIY community continues to innovate, pushing boundaries not just in cooling efficiency but also in style and sustainability.
Conclusion
Liquid cooling is a smart way to control heat, improve performance, and enjoy a quieter, more stable system. With modern tools and modular designs, it’s easier than ever to build your own cooling loop and keep your hardware running at its best.
TAGS
Latest Articles

Volume discount levels for heat sink orders?
Buyers often ask when heat sink prices start to drop with volume. Many worry they’re overpaying for small orders. This guide explains how B2B volume pricing works for thermal components. Heat sink
21 Dec,2025
Heat sink long-term supply contract options?
Many buyers want stable pricing and reliable delivery for heat sinks. But without a clear contract, risks grow over time. This article explores how to secure better long-term supply deals. Long-term
21 Dec,2025
Tooling cost for new heat sink profiles?
Many engineers struggle to understand why tooling for custom heat sinks costs so much. They worry about budgeting and production timelines. This article breaks down the cost drivers behind tooling.
21 Dec,2025
Heat sink custom sample process steps?
Sometimes, starting a custom heat sink project feels overwhelming—too many steps, too many unknowns, and too many risks. You want a sample, but not endless delays. The process for requesting and
20 Dec,2025
Standard B2B terms for heat sink payments?
When buyers and sellers in B2B heat sink markets talk about payment, many don’t fully understand what’s standard. This can lead to delayed orders, miscommunication, and even lost business
20 Dec,2025
Heat sink pricing factors for large orders?
Heat sinks are vital for many systems. When prices rise, projects stall and budgets break. This problem can hit teams hard without warning. Large order heat sink pricing depends on many factors. You
20 Dec,2025Related Articles
- Is air cooling better than liquid cooling?
- How to setup liquid CPU cooler?
- How Hard Is It to Install Liquid Cooling?
- Where to install a liquid CPU cooler?
- Does liquid cooling increase performance?
- What is liquid cooling for computers?
- How to set up a liquid cooler?
- How Expensive Is Liquid Cooling?
- Is air cooling or liquid cooling better?
- What is liquid cooling system?
- What does liquid cooled engine mean?
- How CPU liquid cooler works?
Author
Dr. Emily Chen
Chief AI Researcher
Leading expert in thermal dynamics and AI optimization with over 15 years of experience in data center efficiency research.
Categories
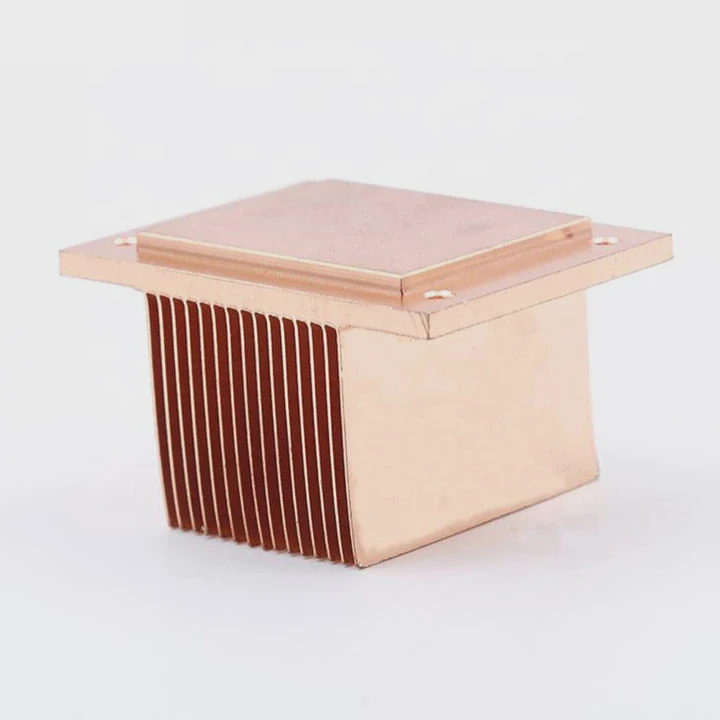
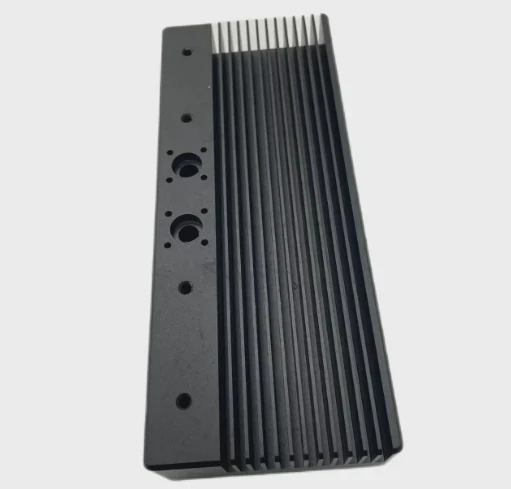
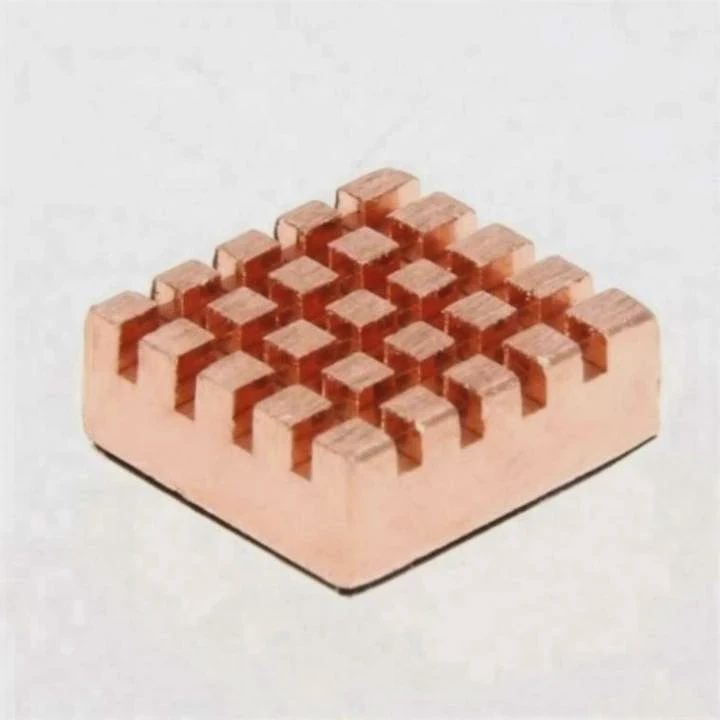
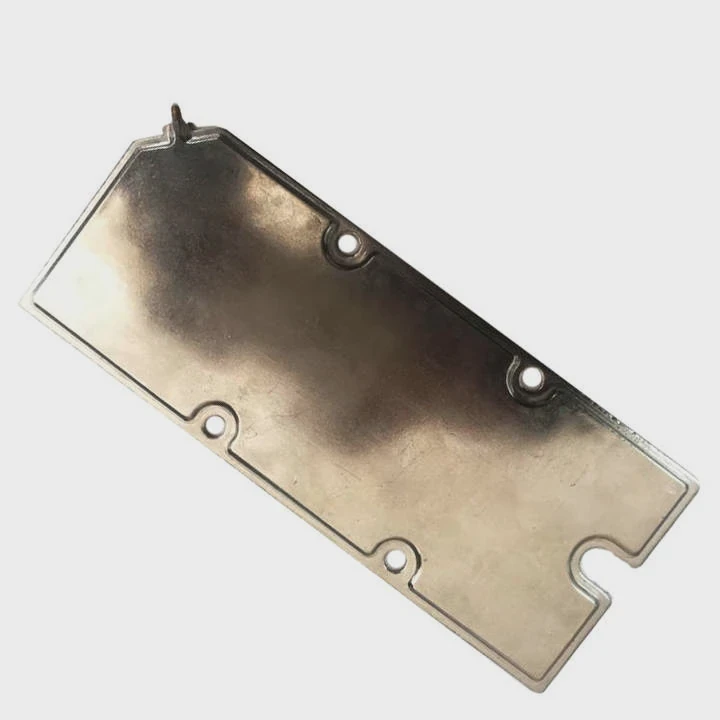
Latest Products


Recommend Categories
- Liquid cooling plate Manufacturer
- Industrial Heat Sink Manufacturer
- Standard Heat Sink Manufacturer
- Aluminum Heat Sink Manufacturer
- Copper Heat Sink Manufacturer
- Anodized Heatsink Manufacturer
- Stamping heat sink Manufacturer
- Die Casting Heatsink Manufacturer
- Soldering heat sink Manufacturer
- CNC Parts Manufacturer
Latest Products
- Wholesale Aluminum Radiator
- Water Cooling Plate Kit
- Water Cooling Heat Sink
- Water Cooling Heat Sink Kit
- Stainless Steel Water Distributor
- Server Water Cooling Plate Kit
- Server Liquid Cooling System
- Server Aluminum Cooling Kit
- S19 Full Cover Cooling Plate
- S19 Cooling Plate Kit
- S19 Aluminum Cooling Plate
Contact Expert
Have questions about this article? Reach out to our experts directly.